
What if you could grow fresh vegetables without ever planting them in soil? That question fascinated me enough to start experimenting with hydroponics, and I quickly discovered there was a lot more to it than putting plants in water and waiting for them to grow! Even with years of seed starting and gardening behind me, I found myself asking new questions: Were the roots getting enough oxygen? Was the water chemistry helping the plants or holding them back?
Those questions changed how I watched seedlings during their first few weeks. In a traditional seed tray, potting mix helps hold moisture around developing roots. In a hydroponic system, the growing medium, nutrient solution and water movement must work together to provide moisture without depriving those roots of oxygen. I learned that difference firsthand while experimenting with rockwool, pH adjustments, nutrient strength and transplanting young plants into hydroponic units.
My published Growing Edge article, One Gardener's Introduction to Hydroponics, documented those early experiments and the practical problems I encountered. The goal here is to help you understand the process before you start, from choosing an appropriate seed-starting medium to recognizing when the roots are ready for the next stage. Hydroponics can be wonderfully productive, but the best results begin with careful observation rather than assuming more water or more fertilizer is always better.
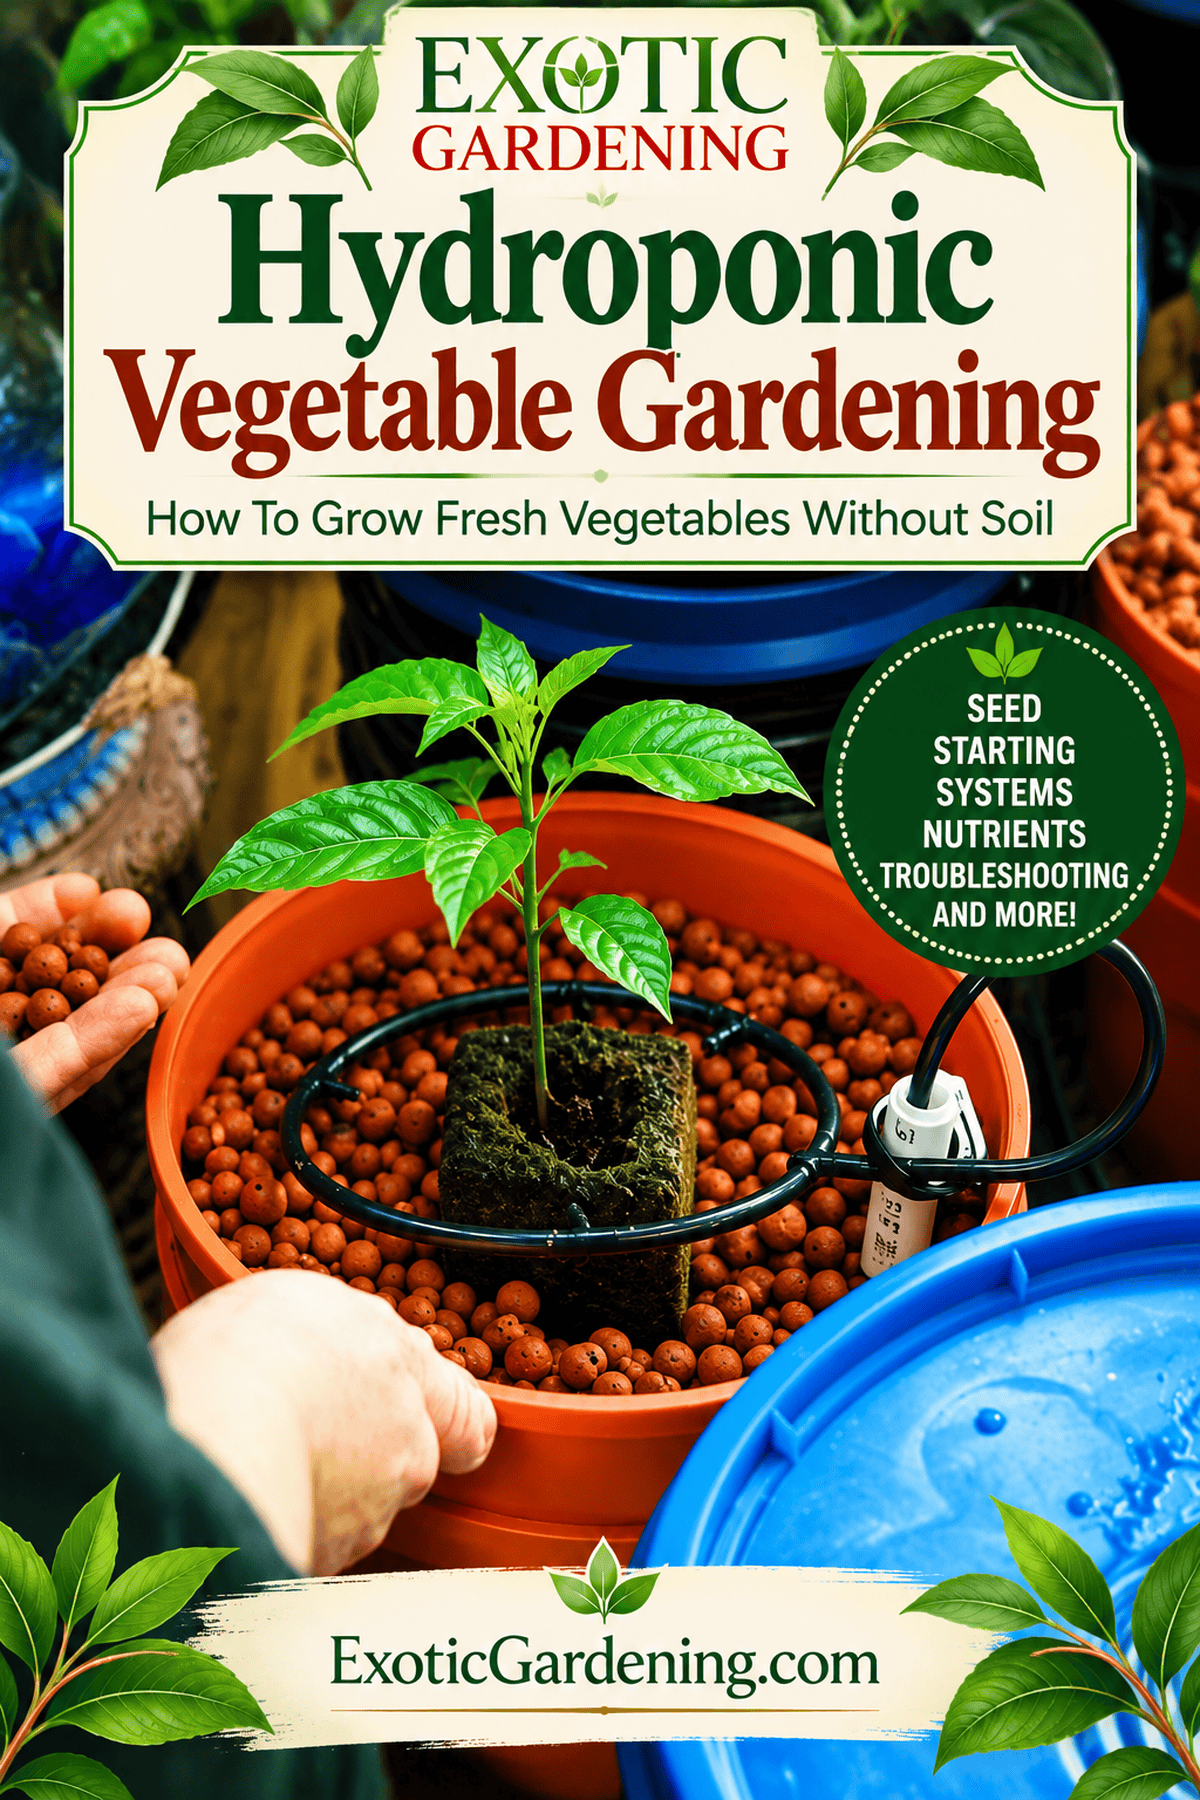
How I Approach Starting Seeds for Hydroponic Growing
Starting seeds for a hydroponic system works best when the roots can make a clean transition into the growing medium. I begin with fresh seed, clean containers, appropriate warmth and reliable light. A small rockwool seed-starting plug or another medium suitable for hydroponics can hold moisture while allowing air around developing roots. The goal is not to keep the plug saturated, but to keep it evenly moist until germination.
- Choose a crop suited to the available light, space and system. Lettuce and many leafy greens are approachable starting points; fruiting crops such as tomatoes demand more light, support and nutrient management.
- Start seeds in clean rockwool plugs or another appropriate seed-starting medium, following each crop's germination temperature and planting depth.
- Keep seedlings under adequate light and watch for sturdy growth rather than stretching. Increase ventilation gently to reduce stagnant, humid conditions.
- Move seedlings into the hydroponic system once they have established roots and are large enough to handle. Keep the crown above standing water and the roots supplied with both moisture and oxygen.
- Use a nutrient solution intended for the crop and growth stage, checking pH and nutrient concentration with calibrated instruments. Follow the nutrient manufacturer's guidance rather than assuming one formula works for every crop.
- Observe plants daily for root discoloration, wilting, algae, blocked tubing and pump failures. Adjust conditions based on the system and the plants, not just a calendar.
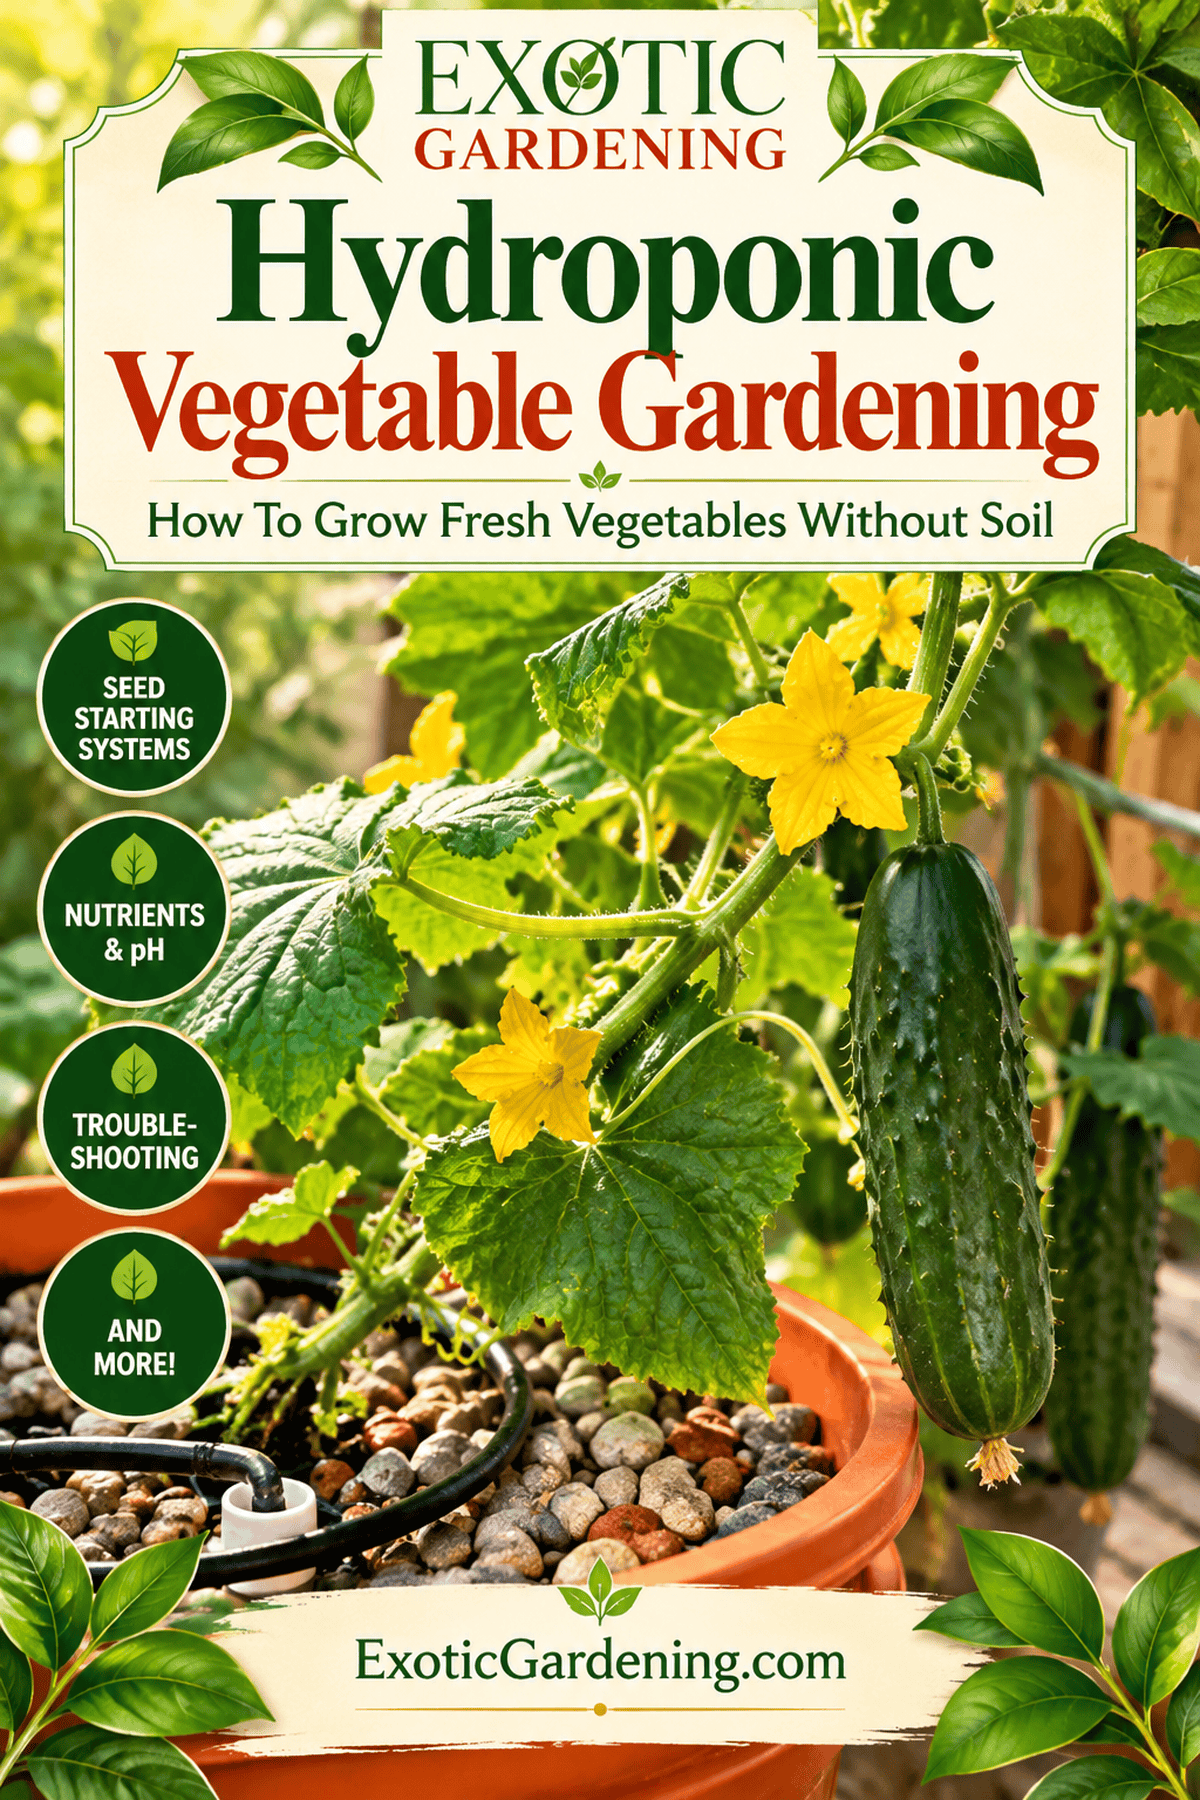
What Can Go Wrong When Seedlings Move Into Hydroponics?
Wilting after transplanting can mean damaged roots, excessive light, unsuitable solution temperature or inadequate oxygen. Yellow leaves may reflect a nutrient imbalance, pH-related nutrient availability, lighting or root problems; adding more fertilizer without diagnosing the cause can make matters worse. If roots smell unpleasant or turn mushy, inspect water temperature, circulation and aeration immediately.
My cacao seedling experiment is a useful reminder that a plant can lose leaves during the transition and still recover. Those observations are from my own plants, not a promise that every species responds the same way.
Continue learning: Hydroponic benefits and limitations | Sustainable hydroponics | Environmental tradeoffs | My cacao hydroponics experiment | Edible Gardening hub.
Greenhouse growing taught me to pay attention to light, temperature and pests. Hydroponics added another layer: the roots depended on me to monitor the water and nutrient solution rather than relying on the buffering effect of soil.
Once you understand how your hydroponic system works, the extra attention can be worthwhile. In my own experiments I saw some hydroponically grown plants develop more quickly than comparable plants grown in soil. That is an observation from my growing experience, not a guarantee that every crop will produce more or taste better. Healthy growth still depends on appropriate light, oxygen around the roots, temperature, water and a balanced nutrient solution.
My cacao experiments were a particularly vivid example: seedlings that dropped leaves after the move into a connected drip system later recovered. I describe that experience in more detail below. A setback is a reason to investigate, not proof that the method cannot work.
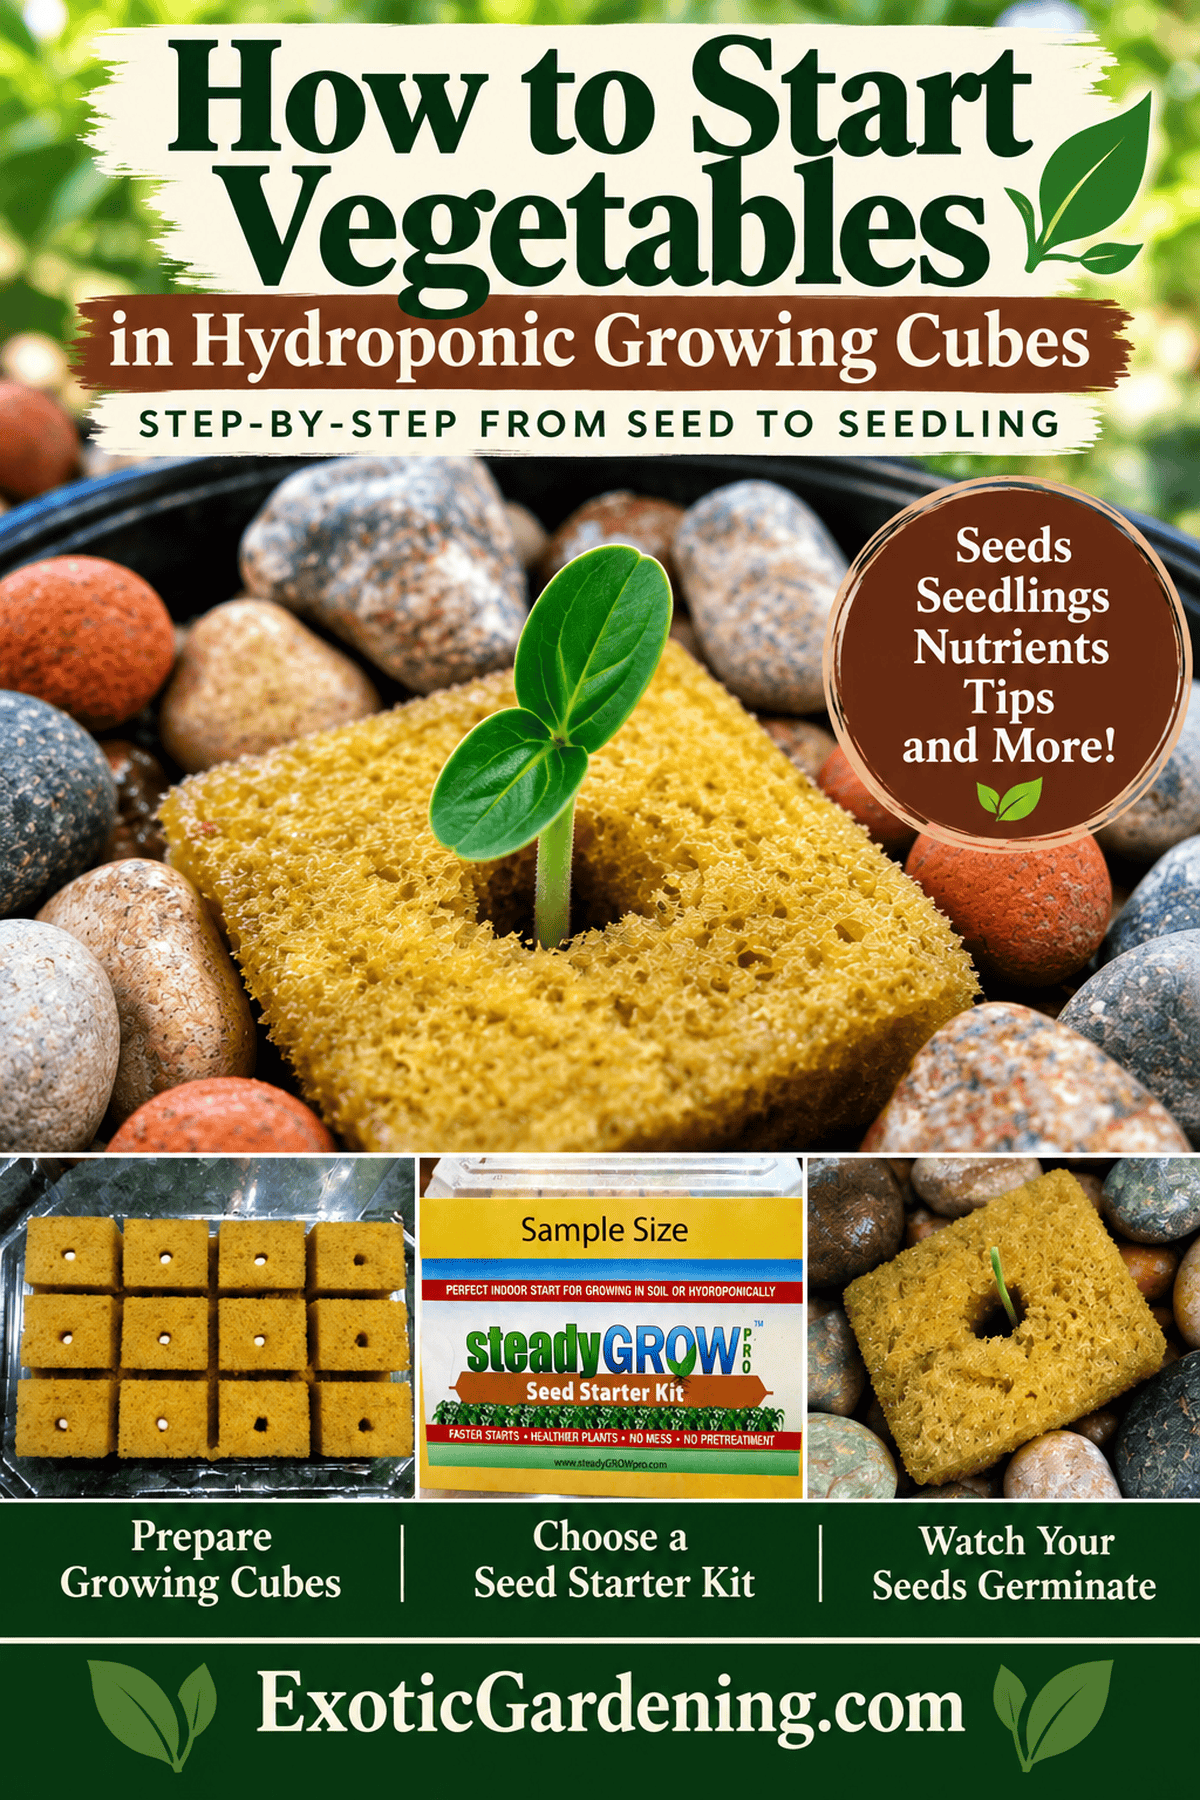
Hydroponic Seed Starting: What I Did With Rockwool
Every hydroponic system, growing medium and nutrient product can have different requirements. The pH readings, soaking times, nutrient quantities and growing temperatures I describe below reflect the methods I used in my own experiments, not universal instructions for every setup. Always follow the current label directions and manufacturer instructions for your particular rockwool or other growing medium, pH-adjusting products, nutrients and equipment. Test and adjust your own water and nutrient solution as directed rather than automatically copying my measurements.
Starting seeds for hydroponics is different from sowing in garden soil, particularly when you use rockwool or another inert propagation medium. Start with clean equipment, follow the medium manufacturer's preparation instructions, and choose seeds suited to the light and temperature you can provide. Starting seeds requires a day or two of preparation.
First, buy some rockwool cubes from your favorite hydroponic supplier. You will need to select what seeds to grow. Beginners may want to start with plants such as herbs, tomatoes, or peppers.
Once you have the rockwool cubes, fill a gallon container with water. Use a pH test kit to get an accurate pH reading. Rockwool often needs conditioning before use. Check the manufacturer's instructions and measure the pH of your water with a reliable meter or test kit. The correct pH depends on the medium and crop; do not assume 5.5 is the right target for every system. If adjustment is necessary, use a product designed for hydroponics, add small amounts gradually, mix thoroughly and test again before placing seeds or seedlings in the solution. When adding the dilute acid or alkali solutions, go slowly. You don’t want to add too much at once. In my original experiment, I described using ⅛-teaspoon increments of a pH-down product. That was a record of my procedure, not a safe dose to copy: pH-adjusting products vary in strength, and the correct quantity depends on the water volume and its chemistry. Use your product's current directions and retest after each adjustment.
In my original trial, I conditioned rockwool cubes in water adjusted to pH 5.5 and soaked them for 24 hours before sowing. Rockwool products differ, so do not assume that every cube needs that treatment or that soaking will move the pH in a particular direction. Prepare the medium using its current instructions.
After the rockwool has soaked for 24 hours, the seeds can be sown directly in the pre-punched holes in the tops of the rockwool cubes. Plant two to three seeds per cube. Once the seeds have germinated and grown a bit, remove all but the strongest seedling from each cube. Place the planted cubes in a flat. Fill the flat to a depth of approximately one-fifth of the cube with pH adjusted water. Gentle bottom heat of 75–80°F can help promote faster germination and seedling growth. I checked pH daily during that experiment and used 5.5 as my working target. Your crop, medium and system may call for a different range.
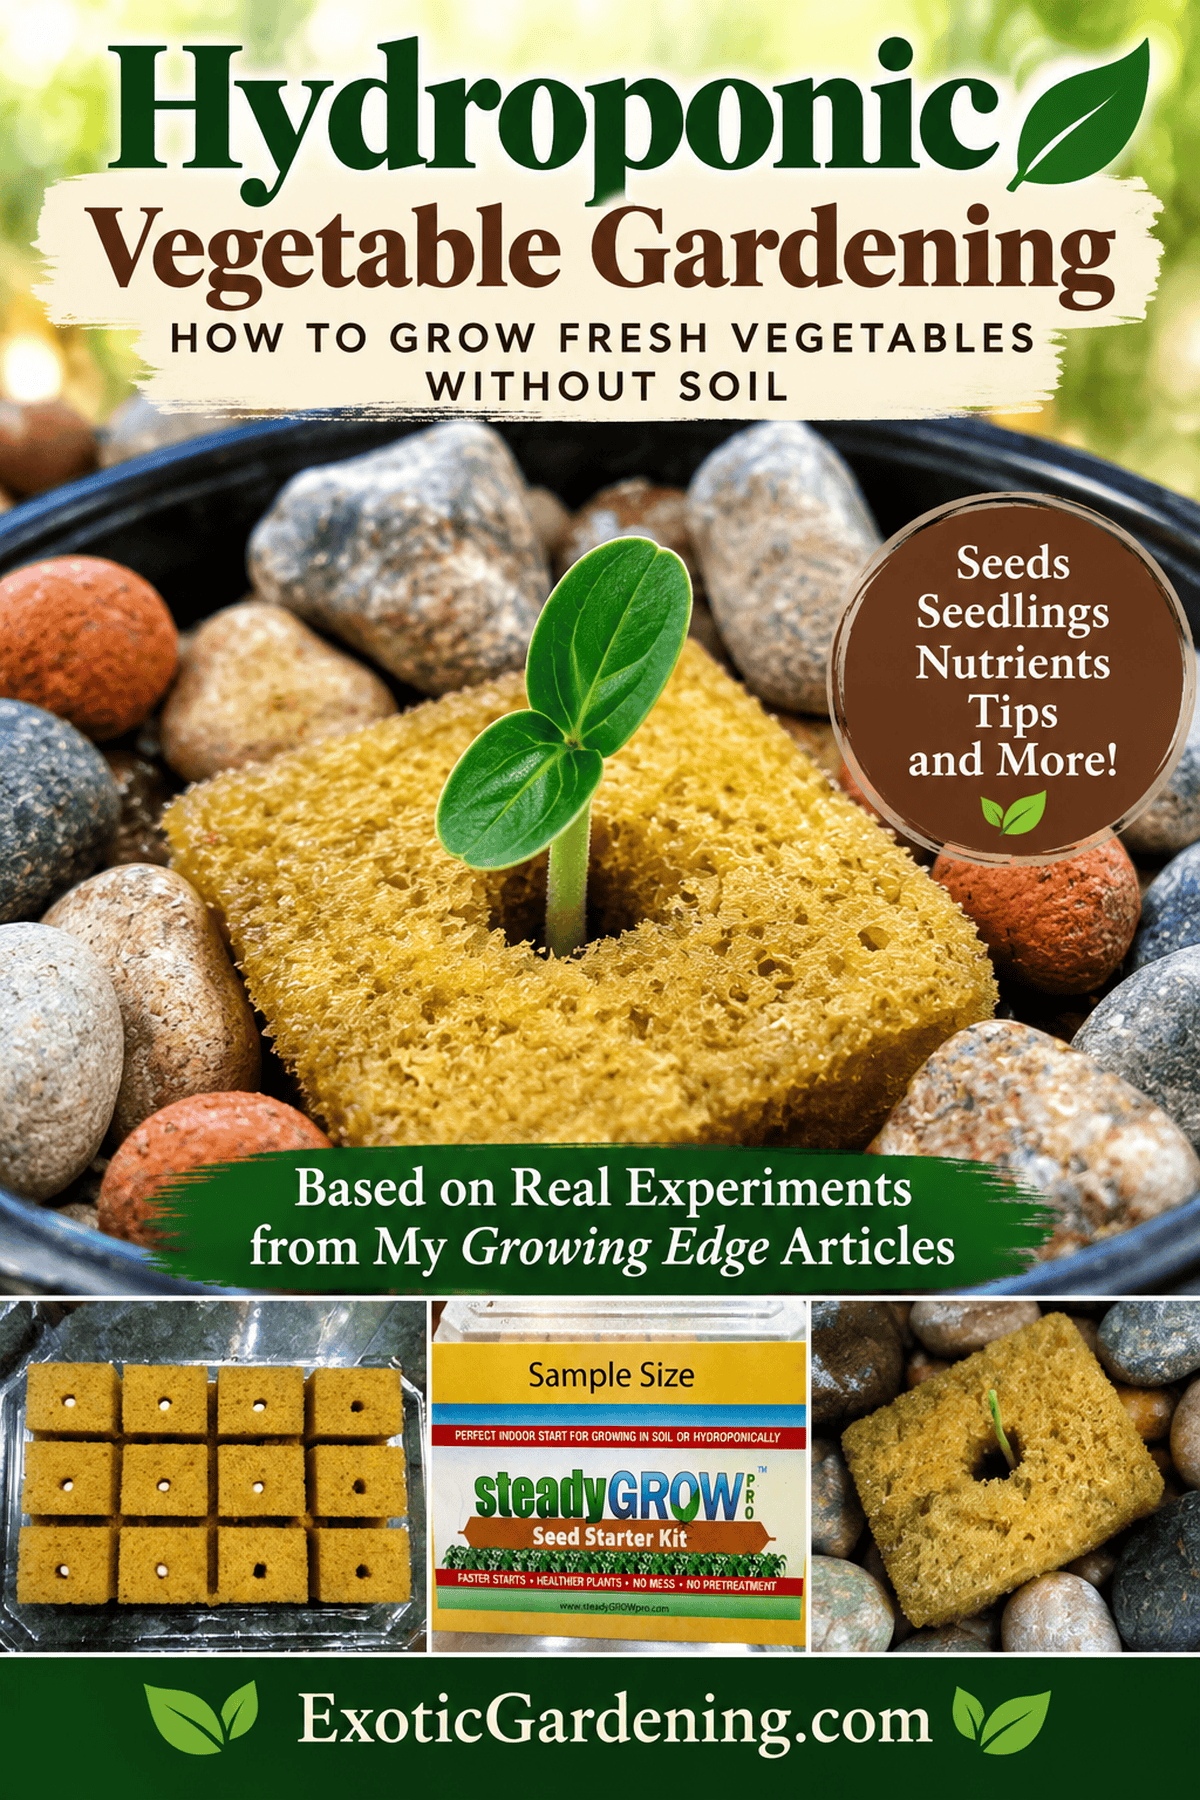
Preparing the Seedlings for the Hydroponic Unit
After the seedling has two sets of true leaves, begin feeding with a mild vegetative solution. To make this solution, take a gallon of water and add in the proper amount of nutrient concentrate according to label’s instructions. In my original setup, I waited half an hour before testing and worked toward a pH of 6–6.5. Use the current nutrient and system instructions to determine the appropriate mixing, testing and adjustment procedure for your plants.
At least every three days, remove the cubes from the container and clean the trays. Then replace the cubes and add fresh, dilute vegetative nutrient solution. Continue this process throughout the germination and seedling stage. It’s important to check the pH every time you use the solution. When the roots are approximately ½ inch long on the outside of the rockwool cube, transplant it into the hydroponic system.
In my published experiment, I gradually increased the nutrient concentration as the plants grew and described an upper mixing amount of 4 teaspoons per gallon for the product I used. That figure is historical, not a universal maximum. Follow your nutrient label and the crop's recommended electrical conductivity (EC) range, checking with an appropriate meter.
Depending on the crop, the conditions and how well the system is running, you may be harvesting herbs or vegetables within a few weeks. Hydroponics can make productive use of a small growing area, but there is no single harvest schedule that fits every plant. I would rather see a gardener start with a handful of healthy seedlings and learn the system than feel pressured to fill every available space at once.
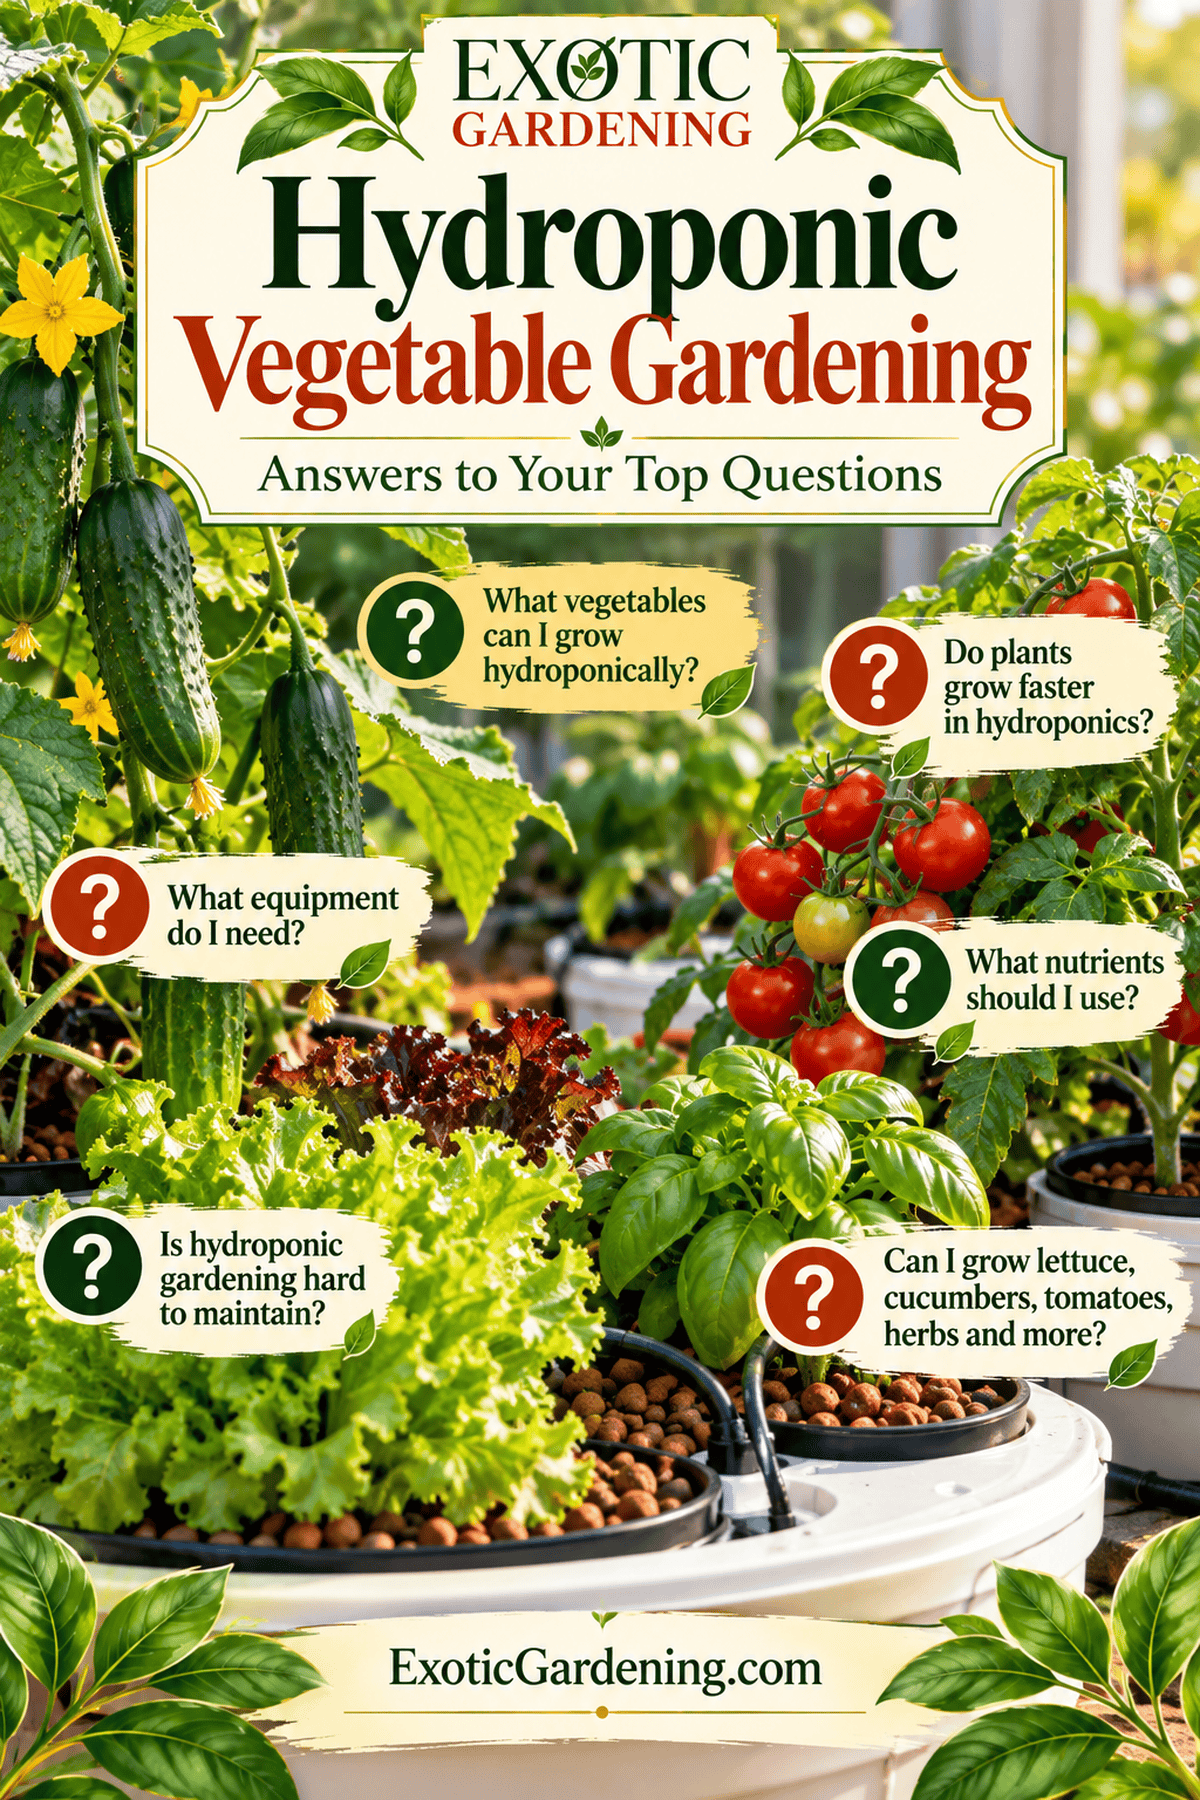
What My Published Hydroponic Experiments Actually Taught Me
Long before I could pull up a growing tutorial on my phone, I was testing hydroponic methods, photographing what happened and writing about those experiments for Growing Edge. In my July/August 2002 Growing Edge article One Gardener's Introduction to Hydroponics, I documented what it was like to start seeds in rockwool, test the water, prepare a mild nutrient solution and wait for roots to develop before moving young plants into a growing unit. Those are not just steps from a set of instructions. They are things I worked through myself, including the adjustments and surprises along the way.
One lesson I kept returning to was that a plant's roots need oxygen as well as water. A wet growing medium is not automatically a healthy one. When I was working with hydroponic propagation, I paid attention to how the growing medium held moisture, how the water moved and whether the roots had room to develop. That is still one of the first things I would encourage a beginner to investigate when a seedling wilts or stops growing.
I Experimented With More Than Vegetable Seedlings
My March/April 2003 Growing Edge article Easy Hydroponic Propagation described rooting cuttings and starting seeds using hydroponic methods. I experimented with an aquarium-based propagation setup, a mister and different media rather than assuming there was only one way to produce roots. I also worked with unusual plants, including tropical cuttings. It was fascinating to watch a cutting that had no roots begin to form them, but it also taught me how quickly conditions around the stem and roots can affect the outcome.
One of my seed experiments involved older Cinnamomum zeylanicum seeds. I reported approximately 50 percent germination in that trial. I would not present that as an expected germination rate for cinnamon or as proof that hydroponics is always superior. It was the result of one experiment with older seeds, and that distinction matters. Seed age, species, growing conditions and the propagation method can all influence what happens. Sometimes the most useful result is simply learning what to try differently next time.
What My Cacao Plants Taught Me About Patience
I have also moved tropical plants, including cacao, from soil into a hydroponic growing arrangement. Watching some of those plants lose leaves was discouraging, especially after all the work of setting up the system. But I kept observing them, and some recovered and began growing again. That experience reminded me not to judge a plant's future by one difficult week. You can read more about that experiment in my cacao hydroponics article.
None of these experiments means that every crop belongs in a hydroponic system or that one set of pH numbers, nutrient measurements or soaking instructions works everywhere. Both articles are listed in my published writing and freelance credits. They record what I did with the equipment and products available to me at the time. If you are following along today, use the current instructions for your own system and products, then keep a record of what your plants actually do.
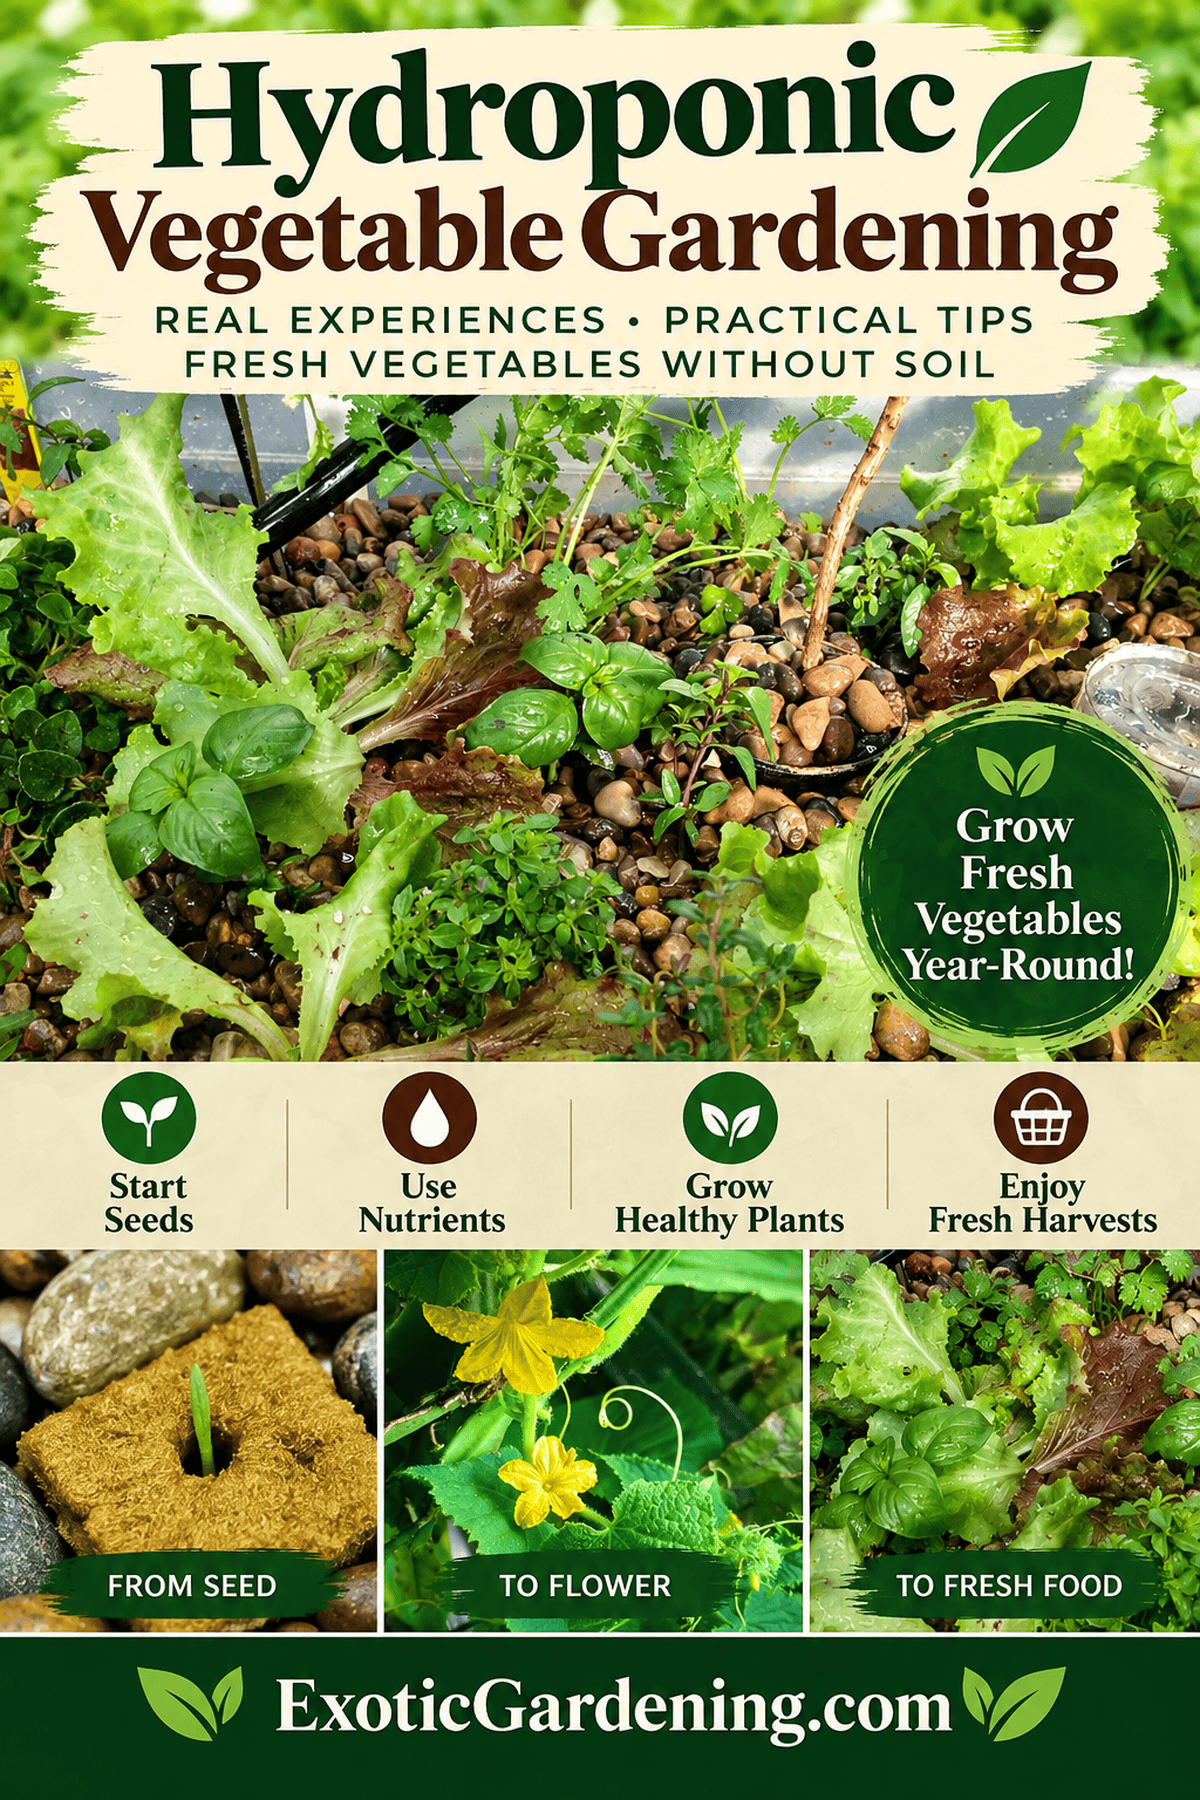
What I Hope You Take Away From My Hydroponic Experiments
If you have been curious about hydroponic vegetable gardening but hesitate because of the equipment, the water testing or the unfamiliar growing medium, begin small. Start with a crop you enjoy eating, learn what healthy roots look like, and keep notes on what happens when you change the light, nutrient solution or watering routine. Those notes are worth far more than trying to remember what worked several weeks later. My own experiments have taught me that the plants will often tell you something is wrong before a chart or schedule does, provided you take the time to look.
I also want you to know that a setback does not mean hydroponics is beyond you. I have watched plants struggle after a move into a new growing system, including my cacao seedlings, and I have watched some recover when conditions improved. That is part of learning to grow. Read the labels, pay attention to the particular system you are using, and give yourself room to experiment without expecting perfection on the first try.
Have you tried starting vegetable seeds in rockwool or another hydroponic medium? I would love to hear what you grew, what surprised you and what you would do differently next time. Sharing those practical lessons is how we all become better gardeners.
Troubleshooting Hydroponic Seedlings
If your seedlings are struggling, begin with what you can see and measure. A symptom is a clue, not a diagnosis. This quick reference can help you decide what to check before changing the nutrient solution.
- Wilting after transplanting: Check whether roots were damaged, whether the growing medium has dried out, and whether water circulation and root-zone oxygen are adequate. Also check heat and excessive light.
- Yellowing leaves: Check light levels, nutrient concentration, pH and root condition before adding more fertilizer. Different causes can produce similar symptoms.
- Slow or stretched growth: Check light intensity and duration, growing temperature and the seedling's root development. Seedlings reaching for light often need better lighting rather than more nutrients.
- Algae on the growing medium: Check whether light is reaching constantly wet surfaces. Keep reservoirs and equipment clean and block unnecessary light without covering the seedling crown.
- Brown, mushy or foul-smelling roots: Investigate water temperature, aeration, circulation and cleanliness promptly. Healthy roots need oxygen as well as moisture.
- Uneven germination: Review seed age, crop-specific germination temperatures, planting depth and whether the starting medium is too wet or too dry.
When I troubleshoot, I change one thing at a time whenever possible and record what happens. That makes it easier to learn from the results instead of guessing which adjustment helped.
Hydroponic Vegetable Gardening FAQ
Can I start seeds directly in a hydroponic system? Some systems allow direct seeding, while others work better when seedlings are started separately. I started seeds in rockwool cubes and moved them when their roots developed. Follow your system's instructions.
Do I have to use rockwool? No. Rockwool was one of the media I experimented with, but other hydroponic-compatible plugs and media may work. Choose a medium that supports roots without keeping them waterlogged, and prepare it according to its manufacturer's directions.
What pH should I use? There is no universal pH target for every crop, medium and nutrient product. The readings in my original experiments describe what I did at the time. Check current product labels and system instructions, test your own water and adjust carefully.
When should I transplant hydroponic seedlings? I watched for healthy seedlings with roots extending beyond their rockwool cubes. The right timing depends on the crop and the system. Handle roots gently and make sure they have access to both moisture and oxygen.
When do seedlings need nutrients? Seeds begin with stored food reserves, but growing seedlings eventually need nutrients. I introduced a mild nutrient solution as mine developed. Use the nutrient manufacturer's current directions rather than copying a fixed measurement from someone else's setup.
Why are my seedlings yellowing or wilting? Check the roots, water movement, aeration, light, temperature and pH before adding fertilizer. Several problems can look alike. Mushy or unpleasant-smelling roots deserve prompt investigation.
Is hydroponic vegetable gardening beginner-friendly? It can be! Start with a small system and a crop you enjoy, then keep notes on germination, root growth and any adjustments. I learned some of my most useful lessons from experiments that didn't go exactly as planned.
Continue your growing journey: Explore starting seeds for an aquaponic system, my first aquaponics setup and lessons and seed starting fundamentals for related projects. Find more guides in the Seed Starting & Seed Saving hub.




Leave a Reply