
Have you ever started a packet of seeds and wondered whether anything was happening? With paper towel seed starting, you can actually see which seeds germinate before moving them into pots. I also demonstrate seed starting in the hyssop video included later in this article.
Different seeds have different germination requirements, and understanding those differences is one of the most important parts of successful seed starting. A paper towel can help you monitor germination, but it doesn't replace knowing what your particular seeds need.
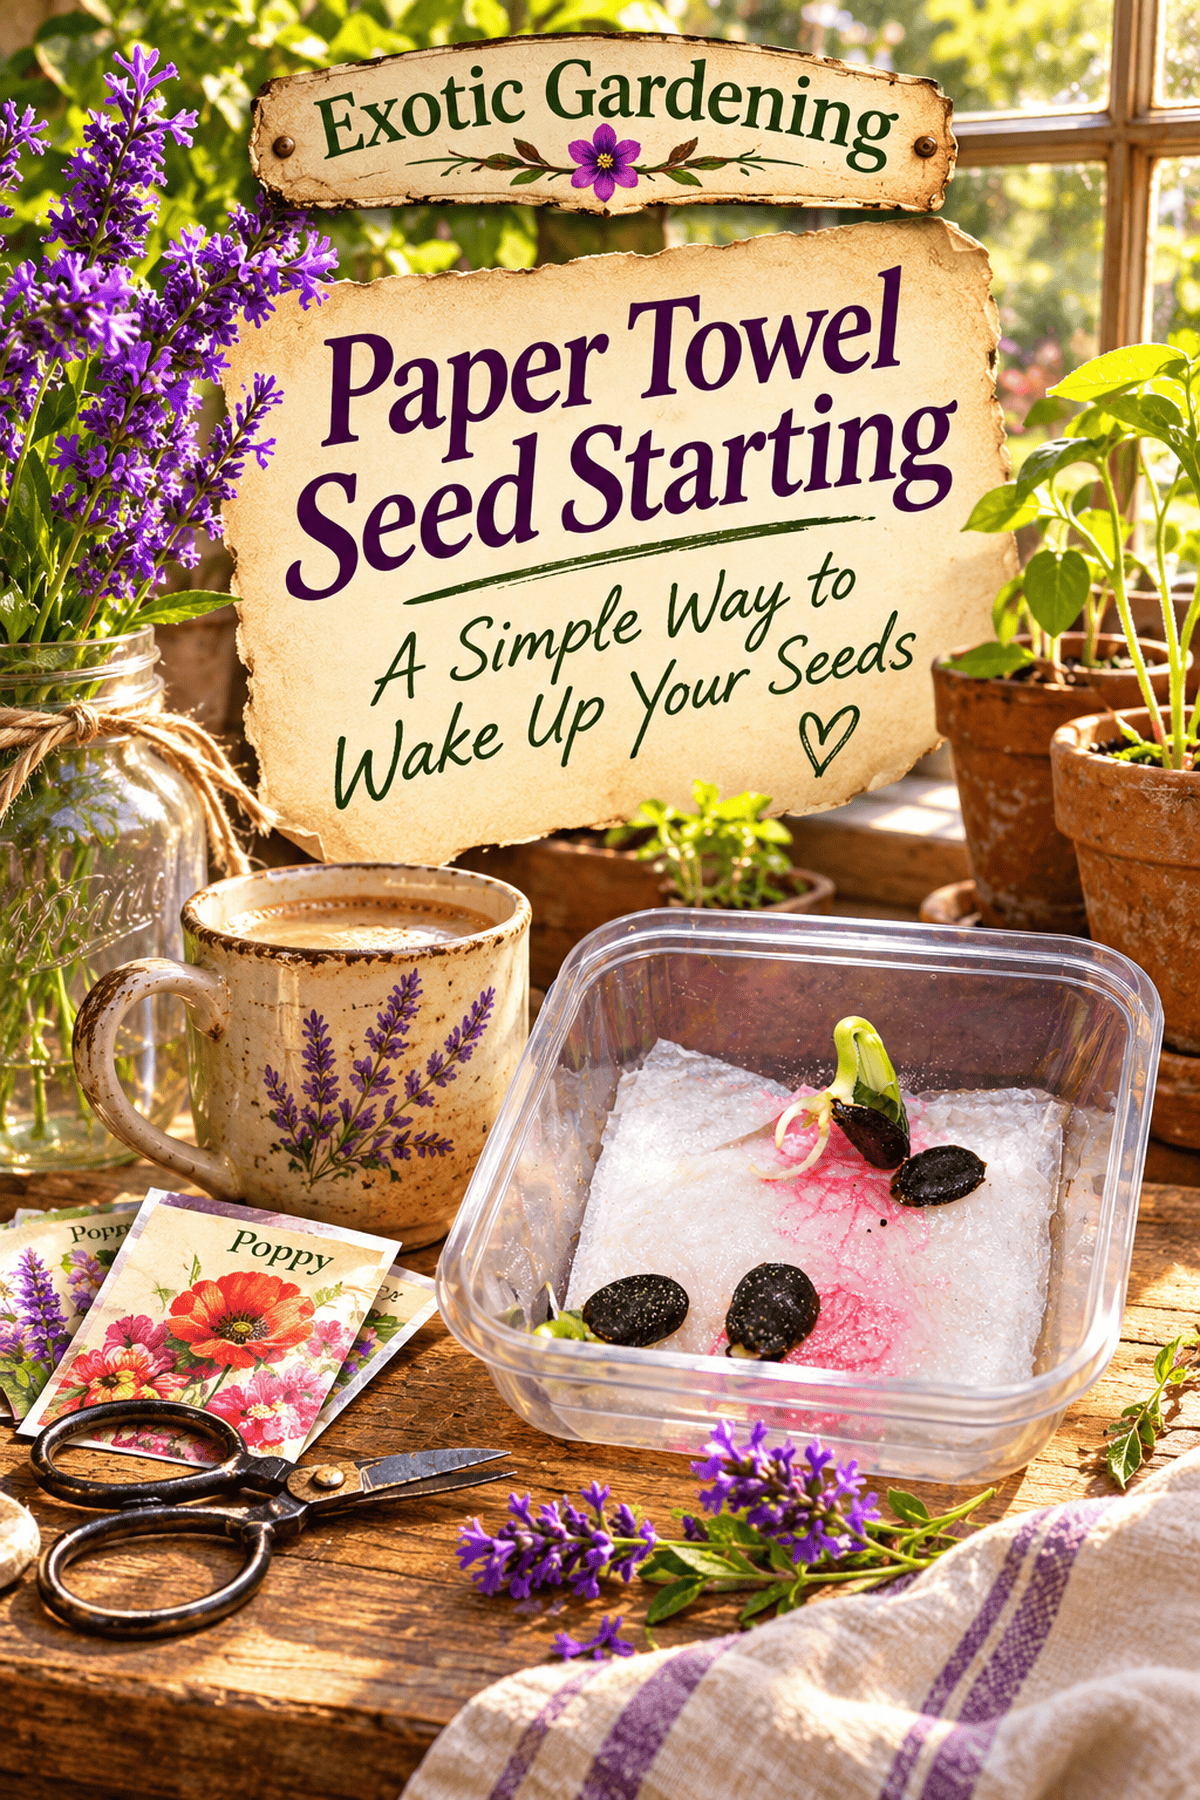
Why Start Seeds on a Paper Towel?
Who Gets the Most From This Method?
Gardeners who save their own seed are among the people who benefit most. After a season of collecting, drying, and storing seeds, it is tempting to assume every packet is ready to grow. But the work of saving seed does not guarantee that the embryo inside each seed is still alive. Testing a sample can reveal whether the effort you put into saving that variety is likely to pay off. If you have more than one container of the same variety, you can even compare the lots and decide which to plant first.
The method is equally useful when you find older packets tucked into a seed box. A printed date is not an automatic expiration date. Different species have different storage lives, and temperature and humidity during storage make a difference. Rather than throwing those seeds away or filling a tray and hoping, you can test a small sample and learn something useful. This is also helpful for gardeners with little space for seed-starting flats, because the germination test itself occupies very little room.
There are limitations. Large seeds may be easy to handle, but tiny seedlings can be difficult to move without injury. Some seeds need stratification or other pretreatment before a test will mean much. And seeds that are best direct sown may not gain much from being moved after sprouting. Think of the paper towel as one useful tool in your seed-starting collection, not a rule for every plant.
When you sow seeds in potting mix, you usually can't tell which have germinated until shoots appear above the surface. On a damp paper towel, you can inspect each seed and check whether older or saved seeds are viable before giving them space in pots.
The paper towel method can be used to test many kinds of seeds, including herbs, vegetables and flowers, provided you meet each variety's germination requirements. If you are new to growing from seed, my guide to starting seeds successfully covers the wider process. The video later in this article shows the technique with hyssop.
Before You Start: What Matters Most
Where to Keep the Seeds While They Germinate
The location of your germination container matters more than its appearance. Some seeds need warmth to activate growth; others prefer cooler conditions. Some must receive light, while others germinate better in darkness. A windowsill is not automatically the right place, especially when direct sun can heat a closed container. The goal is to match the environment to the variety rather than to make every seed as warm as possible.
Keep the container somewhere you can check it regularly without forgetting about it. A paper towel should remain barely damp. When the container is closed, moisture can persist longer than it would in an uncovered tray, so it is worth watching for excessive condensation and water collecting around the seeds. If you are testing several varieties, label each container with the name, date, and any special treatment. Otherwise, it is surprisingly easy to lose track of which seeds are which.
The full supplies and directions are in the Create card. The most important thing to understand before following those directions is that the paper towel provides a visible germination surface; it does not supply everything a seedling will need as it grows. Once a root emerges, the seedling needs to be moved carefully into a suitable growing medium at the appropriate time.
This method is particularly useful for gardeners testing saved seeds, checking older seed packets, or making the most of limited seed-starting space. You can watch individual seeds sprout before committing room to pots and trays. Not every seed is suited to the same treatment, though, so begin with the germination requirements for the variety you are growing.
You'll find the complete supplies and step-by-step directions in the Create How-To card below. The details worth understanding before you begin are moisture, germination requirements, and how to protect the tiny emerging roots.
Moisture is important. Remember that the towel should be barely damp rather than soaking wet. Different seeds may also require light, darkness, warmth, or a period of cold before they sprout, so the variety you're growing matters.
New roots are delicate and can catch in paper towel fibers. Checking frequently helps you spot germination and move seedlings before their roots become difficult to separate.
Paper Towel Seed Starting: How to Germinate Seeds
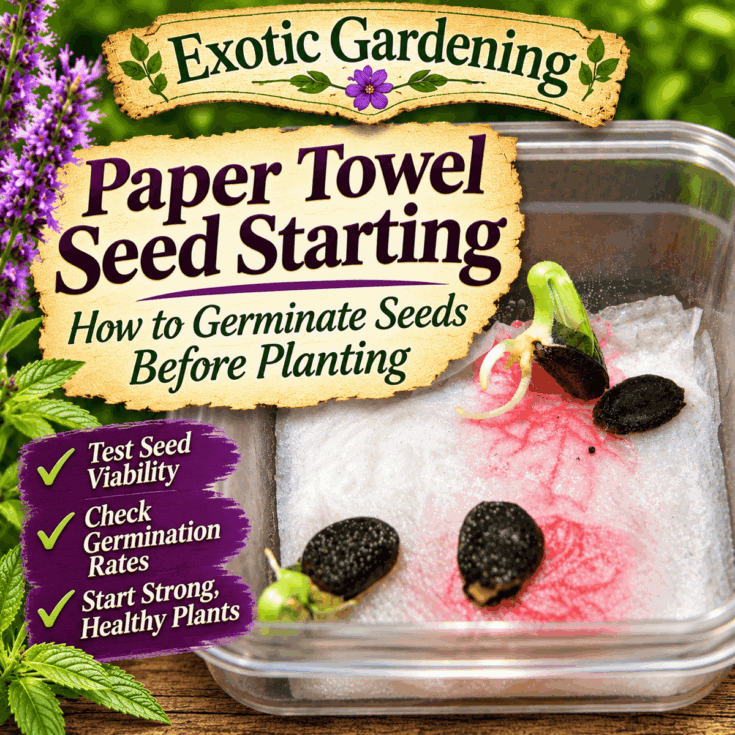
Learn to test seed viability and pre-germinate seeds on a barely damp paper towel before planting.
Materials
- Seeds to test or germinate
- Plain paper towel
- Water
- Clean lidded container or resealable bag
- Label and marker
- Seed-starting mix and small pots or cells
Instructions
- Fold a plain paper towel twice and trim it to fit your container if necessary.
- Moisten the towel a little at a time. It should be barely damp, not dripping.
- Place five or six seeds on the towel to check viability, or use ten for an easy germination percentage.
- Check each seed variety's light requirements. Cover seeds needing darkness with a small piece of towel; leave light-requiring seeds exposed.
- Place the towel in a labeled lidded container or resealable bag and maintain conditions suitable for those seeds.
- Check regularly for germination, keeping the towel barely damp. Record how many seeds sprout.
- Carefully transfer sprouted seeds into moist seed-starting mix without pulling on their delicate roots.
Notes
Germination requirements vary by seed variety. Check the seed packet for light, temperature and timing. The original hyssop video in the article is one example of seed starting.
Why Testing Seeds Before Planting Matters
There is nothing quite as disappointing as planting a crop, waiting for it to come up, and seeing nothing happen. Several different problems can cause that disappointment. A seed may have been collected before it matured, lost viability in storage, or simply been given the wrong conditions. A germination test helps you separate some of those possibilities before you depend on a planting.
This is especially valuable if you save seeds from your own garden. You may have carefully collected, dried, labeled, and stored them, but none of that tells you for certain how many will sprout. By checking a small sample, you get useful information about that seed lot without sowing everything you have. And when seeds do sprout during the test, you can often grow those seedlings on instead of throwing them away.
When Should You Test Saved or Older Seeds?
What a Test Can Tell You Before Planting Season
Testing after the seeds have dried gives you an early indication of their condition. Testing again well before the next planting season gives you time to make decisions. If germination has declined, you might start more seeds than usual, replace the seed lot, or grow that variety again to renew your saved supply. A test conducted only after the garden is ready to plant may leave you scrambling for replacements.
If you save seeds to share or sell, germination matters for another reason: other gardeners are relying on the seeds you provide. Pay special attention to batches that have experienced moisture problems or insect damage. A home test does not replace commercial testing requirements, but it can help you recognize problems rather than passing them along.
There is one important caution when a test shows no growth. Check the expected germination time and any dormancy requirements before deciding the entire lot is dead. Some varieties sprout within days; others can take weeks, months, or longer. A second test under the proper conditions is more informative than discarding seeds after one disappointing attempt.
The timing matters because a test should leave you enough time to act on what you learn. If a saved seed lot shows poor germination months before planting season, you may be able to obtain replacement seed or plan to grow fresh seed stock. If you wait until the day you need to sow, your options are narrower. Testing after seeds have dried and again well ahead of sowing gives you time to respond to the results.
I recommend testing saved seeds after they have dried and again approximately six months before you intend to sow them. That isn't a rigid schedule for home gardeners. If you are about to start a garden and haven't tested the seeds yet, testing them shortly before sowing is still worthwhile.
Testing soon after drying can help you decide which seed lots deserve storage space. Testing well ahead of planting gives you time to replace a weak batch, start more seeds than usual, or grow fresh seed stock. Seeds that have been exposed to excess moisture or insects deserve particular attention. If you have several containers of the same seed, label each separately so you know which batch produced which result.
Don't discard an entire batch after one unsuccessful test. Before deciding a batch has failed, repeat the test at least once and check whether the variety needs special germination conditions. Some seeds take weeks or months to sprout, and an incorrect temperature or light treatment can make viable seed appear dead.
Understanding Seed Viability and Germination Percentages
How to Use the Numbers to Decide How Much to Sow
Suppose you want enough seedlings for a bed of 40 plants. If a representative sample of your saved seeds germinates at 80%, sowing exactly 40 seeds would probably leave you short. Dividing the number of plants you want by the expected germination fraction gives a starting estimate: 40 divided by 0.80 equals 50 seeds. You may need a few more if you expect losses after germination, because a sprouted seed is not yet a mature plant.
A test of five or six seeds is useful for checking whether germination is happening at all, but it is a very small sample for estimating a percentage. Ten seeds make the arithmetic easy, and a larger sample gives you more confidence if you have plenty of seed to spare. If only three out of ten sprout, that is a 30% result under your test conditions, not proof that every other seed in the packet is dead. It is a signal to investigate and plan accordingly.
The distinction matters when you are trying to preserve a variety you love. If germination has fallen over several seasons, the best use of the remaining viable seed may be to grow plants specifically so you can harvest fresh seed. That is one of the practical reasons I encourage gardeners to keep track of germination rates instead of simply counting how many packets they own.
Think about what the number means in an actual garden. An 80% result means eight of the ten seeds in that sample sprouted under your test conditions. It does not mean that eight out of every ten seeds will always germinate in the garden. A larger test sample generally gives a more dependable estimate, and conditions outdoors may be different. Still, even a small test can help you decide whether to sow extra seeds or replace a disappointing batch.
Viability means a seed is capable of germinating. A germination percentage tells you how many seeds in a tested sample actually sprouted under the conditions you provided. These are related ideas, but your test results are only as useful as the conditions and sample you used.
For a simple example, suppose you test ten seeds. If eight sprout, the germination rate is 80%. If five sprout, it is 50%; if three sprout, it is 30%. The calculation is straightforward: the number that germinated divided by the number tested, multiplied by 100.
Those percentages can help you plan how many seeds to start. If you want 100 plants and your seed lot germinates at 80%, you need to allow for some seeds not sprouting. The mathematical starting point is 125 seeds to expect about 100 germinations at that rate, although real-world results can vary and some seedlings may not survive transplanting. Testing only five or ten seeds gives you a rough home-gardening estimate, not the precision of a commercial seed laboratory.
A declining germination rate is useful information for anyone saving seeds. Older seed lots often lose viability over time. Tracking those changes helps you recognize when to plant more of a variety and replenish your stored seed supply.
Why Some Seeds Germinate and Others Don't
What Is Actually Happening Inside a Germinating Seed?
A dry seed can remain inactive while its living embryo waits for suitable conditions. Once it takes up water and the necessary environmental signals are present, its metabolism becomes active and growth begins. The first visible sign is usually the emerging root, often called the radicle. That tiny root is the part most likely to be damaged if it becomes tangled in the towel or is pulled during transplanting.
Light is not a universal requirement. Some varieties respond to light at the surface, while others germinate in darkness. Temperature requirements also differ. Keep in mind that cool-season crops such as lettuce and broccoli generally prefer cooler germination conditions than warm-season vegetables such as tomatoes and eggplants. These differences are a good reason to keep separate tests for varieties with different needs rather than putting every seed in the same container.
Dormancy adds another layer. Some perennial flowers and herbs need a period of cold, or alternating warm and cold conditions, before germination begins. Others have hard seed coats that may need a specific pretreatment. A seed that has not received the necessary treatment can remain inactive even when the towel is damp. That is why knowing the species is just as important as knowing the method.
It helps to distinguish a seed that is no longer viable from one that is simply dormant. A dormant seed may be alive but waiting for particular environmental signals before growth begins. Your seed packet or a variety-specific reference can tell you whether cold stratification, scarification, a light requirement, or a longer waiting period is involved. Without that information, a paper towel test can make good seeds look like failures.
An important point to remember is that germination requirements vary considerably from one plant to another. A paper towel is a way to observe the process, but it doesn't override a seed's biological requirements. Some varieties need light while others need darkness. Some prefer cool conditions, while others germinate better with warmth. Certain seeds require alternating temperatures or a period of dormancy-breaking treatment.
Temperature is particularly easy to misunderstand. When seed-starting recommendations refer to germination temperature, the temperature around the seed or in the growing medium matters, not simply the air temperature in the room. A heat mat can be useful for seeds that need warmth, but it isn't appropriate for every species.
Even familiar garden crops have different preferences. Cool-season vegetables such as lettuce, kale, and broccoli generally favor cooler germination conditions than warm-season tomatoes, peppers, and eggplants. Herbs vary too: some prefer warmth, some are best direct sown, and others need a warm-cold-warm cycle. That is why I don't recommend treating every packet exactly the same way.
A failed paper towel test doesn't always mean the seeds are worthless. Before reaching that conclusion, look at the seed packet, the variety's expected germination period, and whether you supplied the required light, moisture, and temperature. The wrong conditions can produce misleading results.
What Home Germination Tests Can and Cannot Tell You
A test also needs a representative sample. If you select only the largest, healthiest-looking seeds from a mixed batch, the result may overstate how well the entire lot will germinate. Commercial laboratories use more systematic sampling and larger groups for that reason. At home, try to select seeds from across the lot rather than choosing only the ones that look most promising. The aim is useful information, not a perfect score.
Professional seed testing is much more controlled than the quick method most of us use at home. Professional laboratories collect representative samples and may test seed purity, moisture content, and germination under measured conditions. Depending on the crop, they may use blotter paper, cellulose paper, sand, perlite, or potting media.
For everyday gardeners, that level of testing usually isn't necessary. The paper towel method is useful because it is inexpensive, visible, and practical. You can see individual seeds germinate and keep a count. What you can't assume from a tiny sample is that every seed in a large container will behave exactly the same way. Consider your results a guide rather than a guarantee.
There is also a difference between paper towels and blotter paper. Emerging roots can penetrate the fibers of a paper towel, whereas blotter paper makes it easier to lift a germinated seed without tearing its roots. For home use, that simply means paying attention to the seedlings and handling them gently once they begin to grow.
Keeping Germination Notes That Are Actually Useful
I recommend documenting the seed variety, sowing date, germination medium, temperature, water, light exposure, whether the seeds sprouted, and when germination occurred. Recording later plant vigor can be useful too. This isn't about making gardening complicated. It is about having a reference the next time you try the same variety.
A notebook works just as well as a digital spreadsheet. Over time, those records show which seeds germinated readily, which required patience, and which methods worked in your growing conditions. They also help you compare older and newer seed lots rather than relying on memory.
I think this is one of the most rewarding parts of seed starting: you begin with a little packet of seeds, but you gradually build knowledge from your own results. That knowledge is worth keeping and sharing with other gardeners.
Troubleshooting Paper Towel Germination
How to Recognize Problems Before You Lose the Seedlings
A seed that swells but does not develop a root is not necessarily a failure. Compare the elapsed time with the expected germination period and check whether the temperature and light conditions are appropriate. If the seed is known to require a cold period or another pretreatment, an ordinary warm-room test may not tell you much about its viability.
If roots begin growing into the towel, the issue is usually timing. Paper towel fibers can catch delicate roots, which makes moving the seedling more difficult. Checking the container regularly and transplanting before roots become long and tangled can reduce damage. The aim is to lift the seedling without tearing the new root, not to wait until the seedling has developed into a miniature plant on the towel.
Excess moisture creates a different problem. A towel that is saturated rather than damp can reduce the air available around the seeds and encourage deterioration. If you notice standing water, an unpleasant smell, or widespread mold, review how much water you used and whether the materials were clean. If only a few seeds fail while others germinate normally, remember that differences in seed condition may also be involved.
When a test goes wrong, look for the cause before starting over. A towel that dries out can interrupt germination, while excess water may limit oxygen around the seeds and encourage deterioration. A seed that swells but never produces a root may need more time, different conditions, or may no longer be viable. The result is most useful when you know the expected germination period for that variety and can compare it with what you observed.
- The towel dries out: Add a small amount of water; the towel should stay barely damp.
- The seeds sit in standing water: Drain the excess and avoid soaking the towel.
- Nothing germinates: Check the seed's age and specific light, temperature and dormancy requirements. Allow enough time before deciding the seeds are not viable.
- Roots grow into the towel: Check more frequently and move seedlings promptly. Handle roots gently.
- Seeds show mold or deterioration: Replace contaminated materials and check whether excess moisture is contributing to the problem.
After Germination: Helping Sprouted Seeds Become Healthy Seedlings
Seeing the first root emerge is exciting, but it is only the beginning. The paper towel has helped you observe germination; it is not a substitute for a growing medium that can support the seedling as roots develop. Once a seed has sprouted, check it frequently rather than waiting for a long root system to form on the towel. Roots that grow through the paper fibers can be difficult to separate without damage.
When you move a germinated seed into seed-starting mix, handle the seed or its surrounding material instead of tugging on the new root. Use a moist, suitable growing medium and follow the planting depth recommended for the species. The goal is to give the emerging seedling a gentle transition rather than burying it deeply or leaving its root exposed to dry air.
After transplanting, the seedling still needs the right growing conditions. Keep the mix evenly moist without leaving it waterlogged, and provide appropriate light once the shoot emerges. Watch for steady growth instead of judging success solely by whether the first root appeared. My indoor seed-starting setup guide covers containers, space, and lighting for this next stage.
Watch My Hyssop Seed-Starting Demonstration
In this video, I demonstrate seed starting with hyssop. It is another example of how observing germination can help you understand what is happening with your seeds.
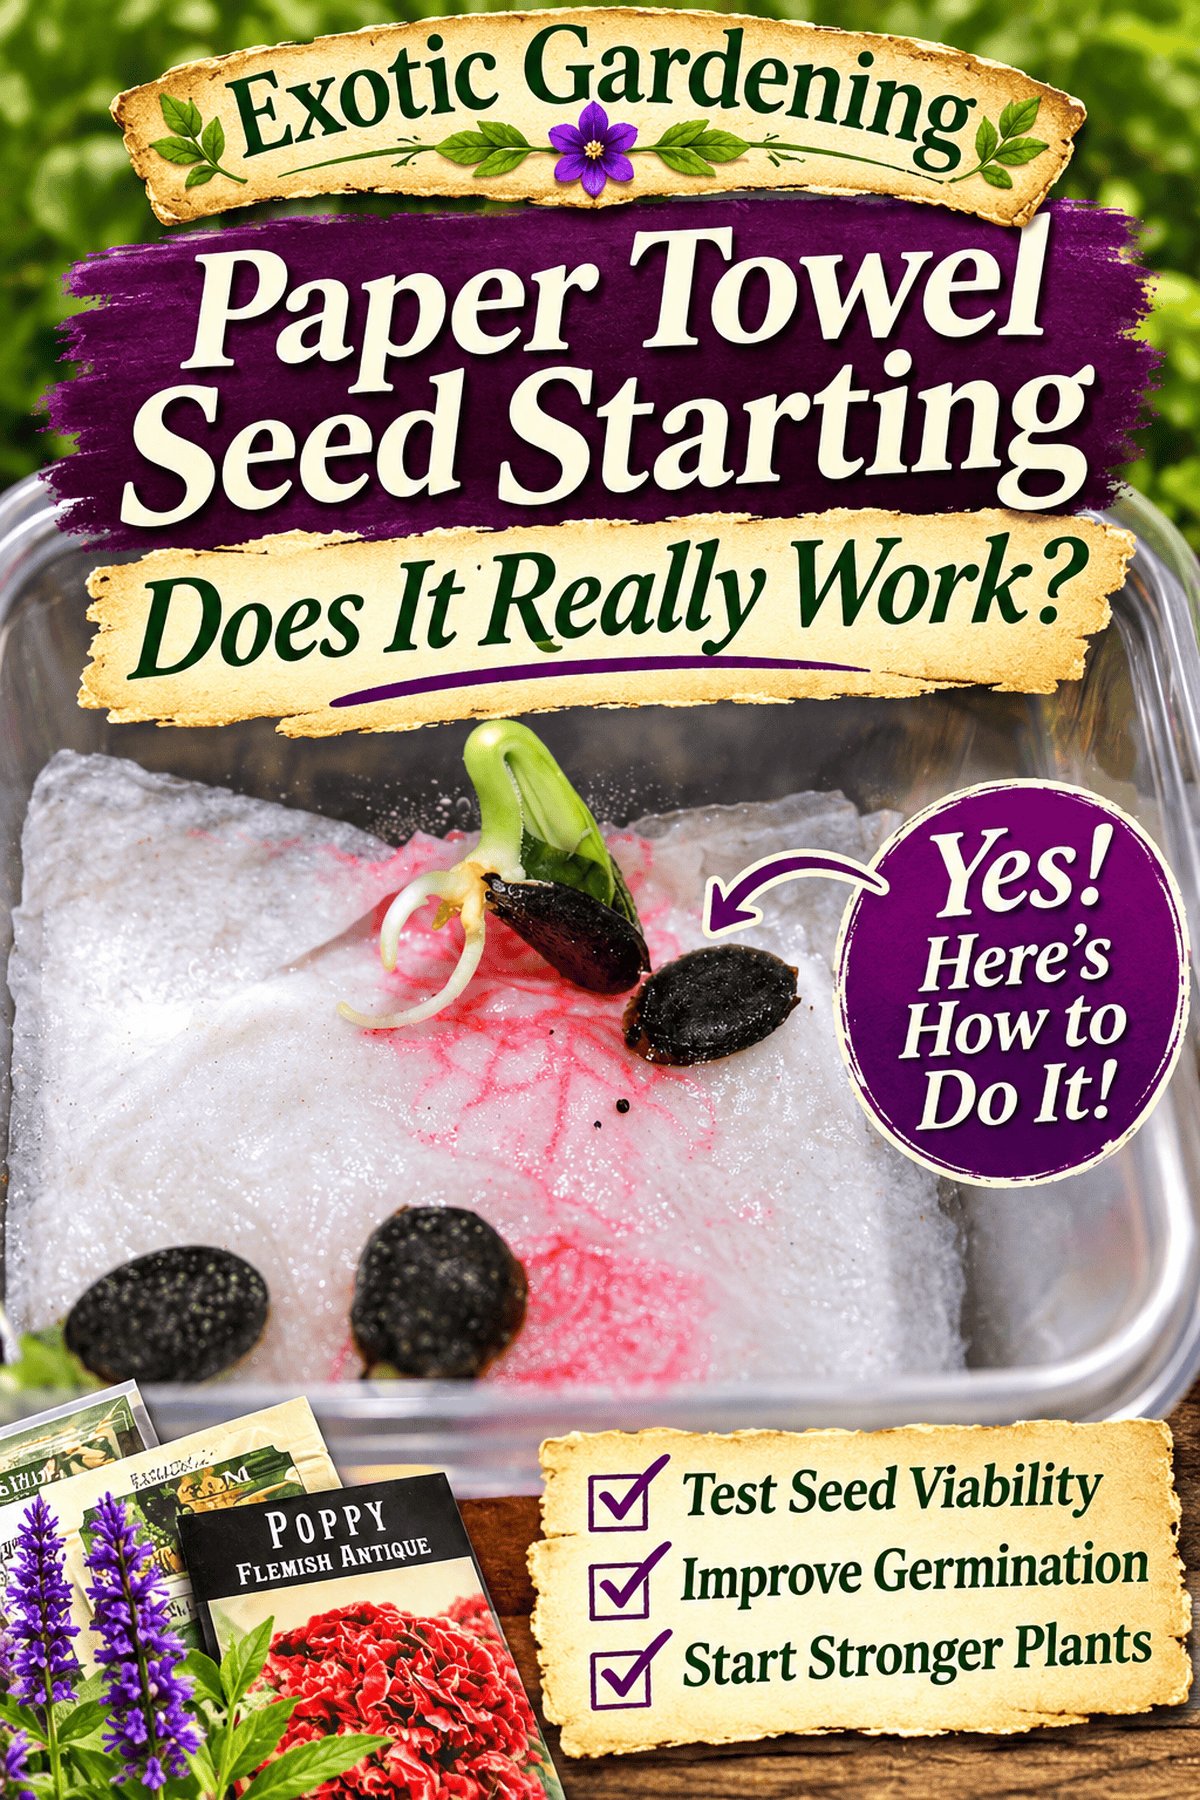
Frequently Asked Questions About Paper Towel Seed Starting
Do seeds germinate faster in paper towels?
Not necessarily. A paper towel makes germination easier to observe, but it does not automatically speed it up. Germination still depends on the seed variety and its moisture, light, temperature and dormancy requirements.
How wet should the paper towel be?
Barely damp, not dripping wet. For example, you can wet a corner and let the moisture spread through the towel or add a few drops of water at a time.
Can I plant a seed after it sprouts on a paper towel?
Yes. Move the sprouted seed carefully into moist seed-starting mix without pulling on the delicate root. Check frequently so the root does not become deeply tangled in the paper fibers.
How many seeds should I test?
For a quick home test, five or six seeds can give you an indication. Testing ten makes the percentage easy to calculate: eight out of ten sprouted seeds is an 80% germination rate. Small samples are only approximate.
More Seed-Starting Help
If you are planning your next round of planting, you may also find my guides to starting seeds successfully, setting up an indoor seed-starting area, and starting seeds without grow lights useful.
Have you tried starting seeds on a paper towel? I'd love to hear how it worked for you. Share your experience in the comments!




Leave a Reply