Growing Amaryllis from seed is one of those gardening experiments that asks you to think in years instead of weeks. I started this particular batch as Amaryllis Pecotee x Double Blossom Peacock seeds, floated them on water on November 10, moved them into a seed-starting setup on November 19, and saw germination on November 27.
That little timeline is worth preserving, but there is much more to the experiment than the three dates. There are the two parent plants, the possibilities created by crossing them, pollination and seed collection, deciding when the papery seeds are ready, germinating them without rotting them, handling a tiny new root without breaking it, growing the seedlings into bulbs and then waiting to discover what flowers those genetically unique seedlings might eventually produce.
This article is my deeper look at the entire experiment: what I did, what I have learned from growing Amaryllis from seed, and what a gardener needs to know to carry seedlings from a floating seed all the way toward a flowering bulb.
First, These Are Hippeastrum
The plants commonly sold as indoor “Amaryllis” are Hippeastrum hybrids. I use Amaryllis here because that is the name most gardeners know and search for, but knowing the botanical distinction helps when you start researching breeding, cultivars and seed propagation.
Amaryllis 'Picotee': One Half of the Experiment
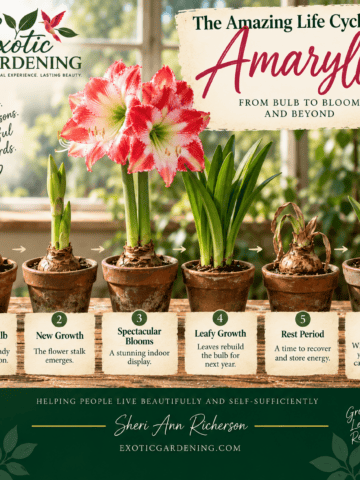
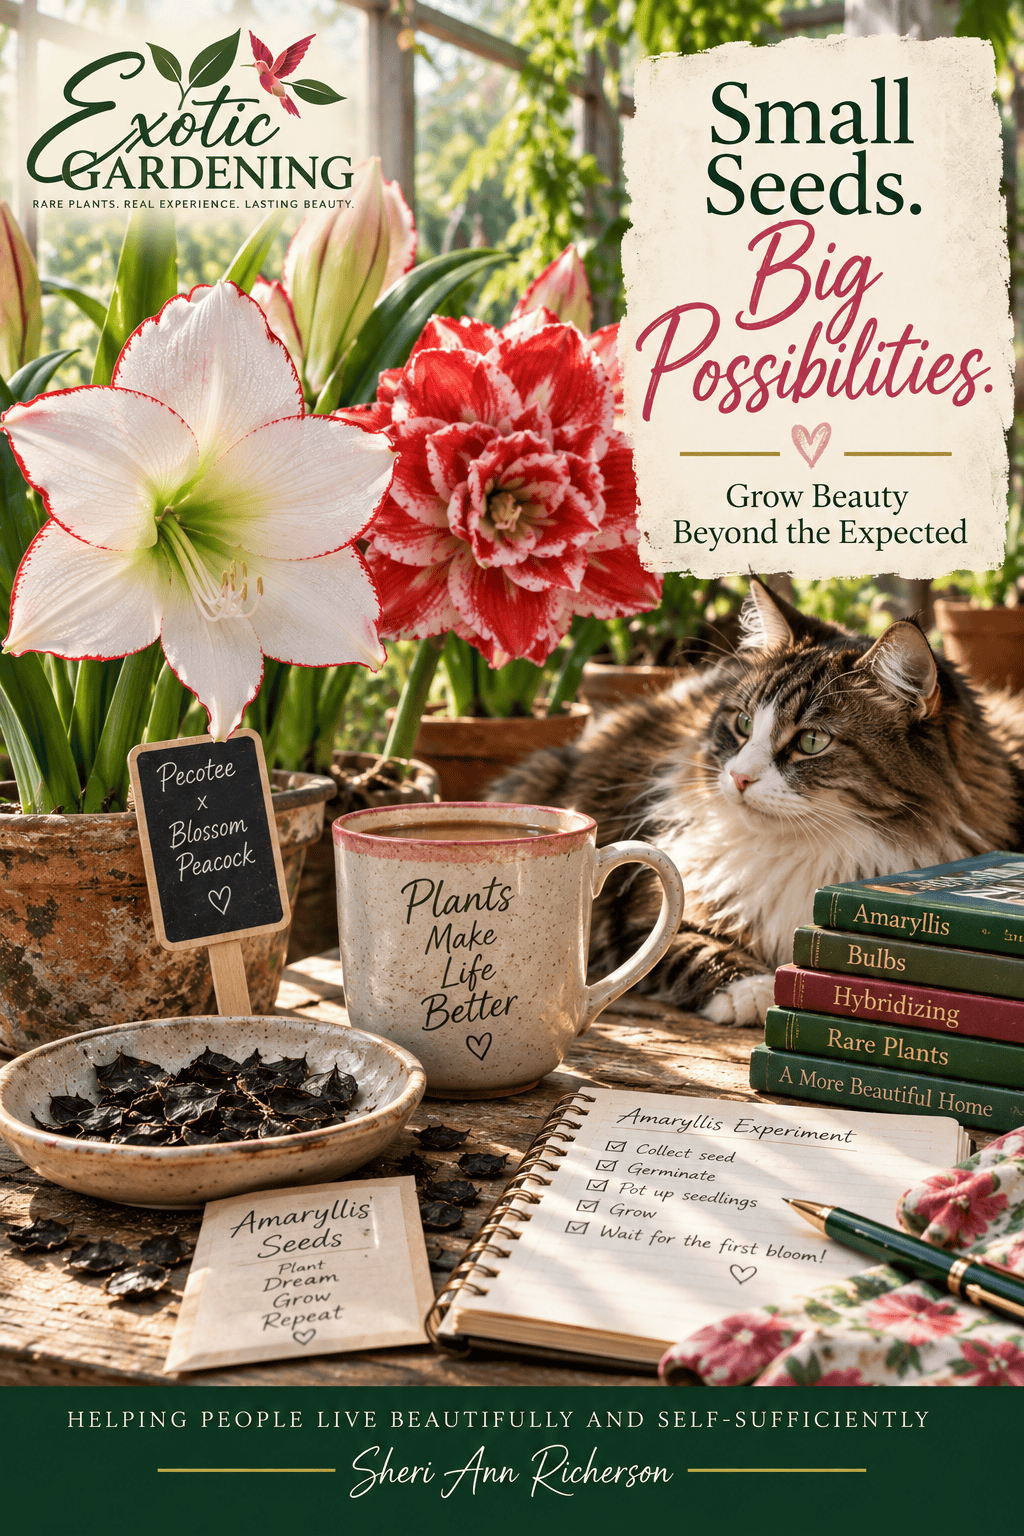
'Picotee' is the elegant, light-colored side of this pairing. It is known for predominantly white flowers edged by a narrow red margin. That fine contrasting edge is what gives a picotee flower its distinctive look.
There is a wrinkle worth knowing if you are trying to identify an old plant precisely: more than one similar Hippeastrum has circulated in commerce under the name 'Picotee'. So I am preserving the name attached to my original cross rather than pretending I can retrospectively prove which commercial clone I had all these years later.
For this experiment, the important traits were the light flower, contrasting red edging and the relatively simple flower form compared with the double parent.
Amaryllis 'Blossom Peacock': The Double-Flowered Parent
'Blossom Peacock' is a very different-looking Hippeastrum. It is a double-flowered red-and-white cultivar, with the white throat and midrib contrasting against the red. It has been classified in the Double Galaxy group.
That double form makes this cross particularly interesting. Double flowers have extra petal-like floral structures, and those changes can affect the reproductive parts of the flower. That does not automatically make a double Hippeastrum useless for breeding. Published breeding work with 'Blossom Peacock' has found normal, defective and petal-like stamens capable of producing pollen, and the cultivar has successfully been used as a parent in other Hippeastrum crosses.
What Could Pecotee x Blossom Peacock Seedlings Look Like?
This is where growing Amaryllis from seed becomes very different from dividing a bulb. An offset is essentially a vegetative copy of its parent. A seedling is a new genetic individual.
That means I would not expect a tray of Pecotee x Blossom Peacock seedlings to bloom as identical little copies of either parent. The fun is in the variation.
With these two parents, possible traits worth watching include white or red-and-white flowers, varying amounts and patterns of red pigmentation, picotee-style edging, stronger red markings, different throat markings, single, semi-double or double flower forms, changes in petal or tepal number, and differences in flower size, shape and presentation.
Those are possibilities, not promises. Genetics do not work like mixing two paint colors and knowing exactly what shade will come out. Even seedlings from the same seed pod can differ from one another. If one seedling eventually produced an exceptional flower, that individual bulb would be worth labeling and preserving because another seed from the same cross would not necessarily recreate it.
Cross-Pollinating Amaryllis Flowers
If you want to make your own cross, you need pollen from one flower to reach the receptive stigma of the flower you want to use as the seed parent. The stigma is at the end of the style, while the pollen is carried on the anthers.
For a deliberate cross, label it immediately. Do not trust yourself to remember later. Record the seed parent, pollen parent and date. If I were documenting this experiment today, I would photograph both parent flowers, photograph the pollination, label the flower stalk and then photograph the developing seed capsule.
The conventional way of writing a cross puts the seed parent first and pollen parent second. My historical label is Pecotee x Double Blossom Peacock, so that notation indicates Pecotee as the seed parent and Blossom Peacock as the pollen parent. I am preserving the original label with the experiment.
Let the Amaryllis Seed Capsule Mature
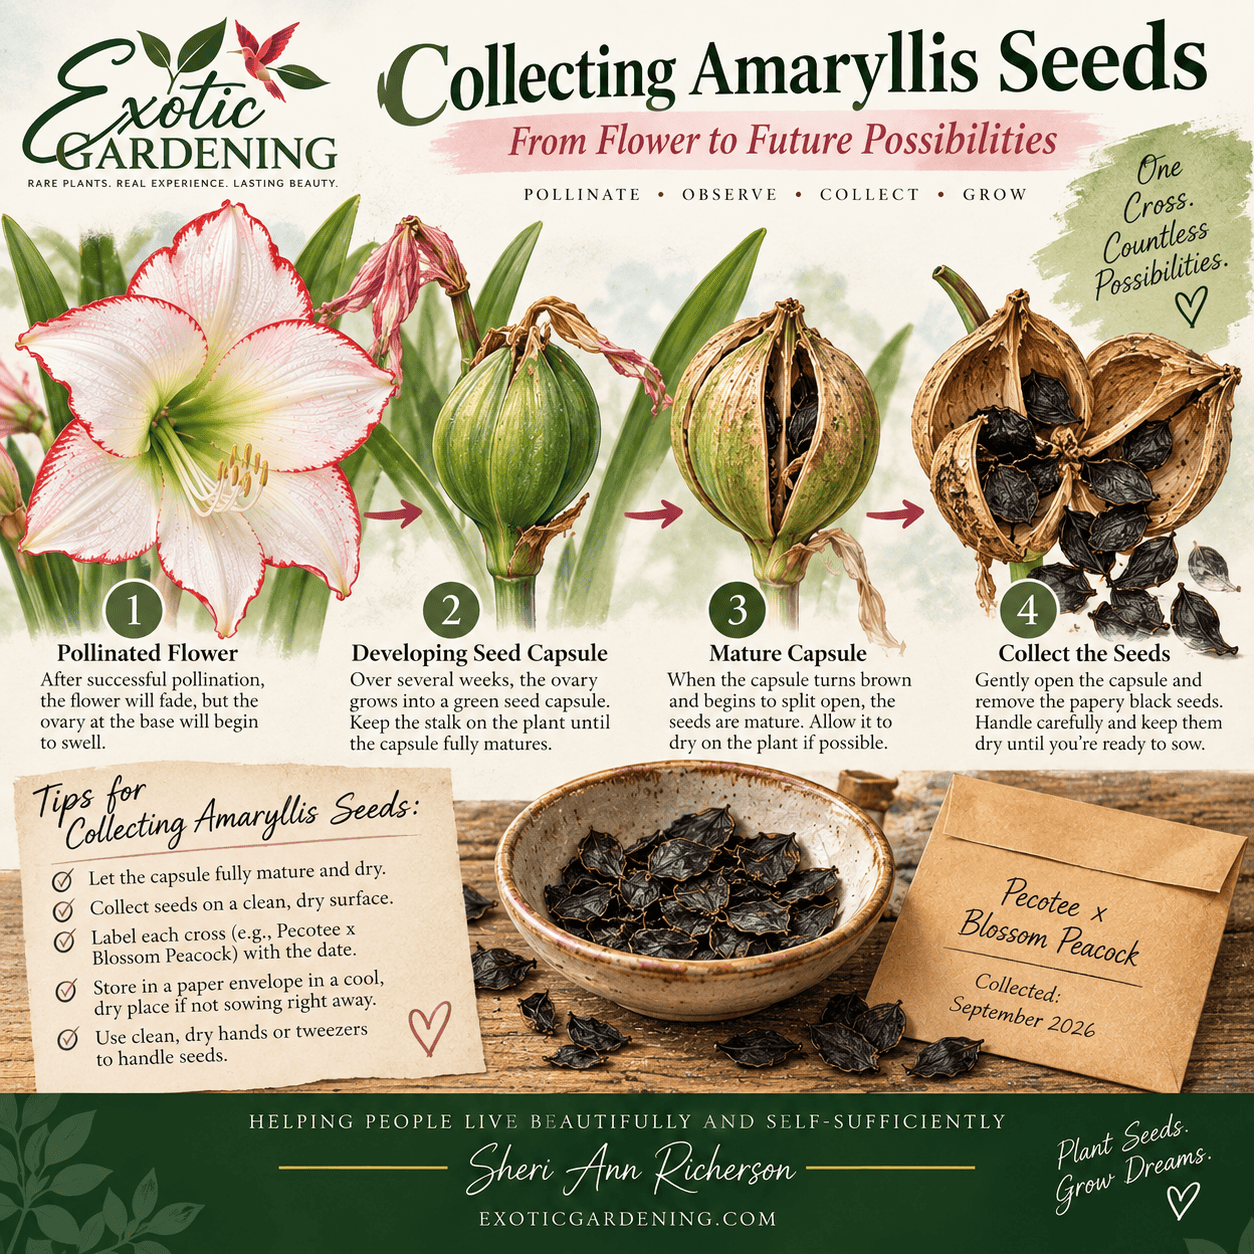
Successful pollination is only the beginning. If the flower sets seed, the ovary behind the faded flower begins developing into a capsule. Resist the urge to harvest it too soon.
You want the seeds to mature on the plant. As the capsule ripens it eventually dries and begins to split open. That is your signal to pay close attention because once a capsule opens, loose papery seeds are much easier to lose.
When I am collecting seed, I want to preserve the identity of the cross from capsule to seedling. Put the harvested seed into a clearly labeled container or envelope rather than creating a mystery pile of “Amaryllis seeds.” If you are making several crosses, label each one before moving to the next plant.
What Amaryllis Seeds Look Like and How to Handle Them
Hippeastrum seed is not a plump vegetable seed. The seed is dark and thin with a papery covering, so handle it gently. Freshness matters. I have had older Amaryllis seed germinate, but in my experience the fresher the seed, the better the germination rate.
That is one reason I prefer to sow collected seed rather than tuck it into a drawer and forget about it. If you have gone to the trouble of making and labeling a cross, get the next stage underway while the seed is fresh.
My November Germination Timeline
Here is the original record from this Pecotee x Double Blossom Peacock experiment:
- November 10: I placed the seeds on the surface of water in a baby food jar.
- November 19: I transferred the seeds into the next stage of the seed-starting setup.
- November 27: I recorded germination.
That is seventeen days from the start of the experiment to the germination I recorded. It is a real result from this batch, not a guarantee that every Amaryllis seed will germinate in seventeen days.
Across my Amaryllis seed starting, I have seen germination take roughly 9 to 120 days. I have also found temperatures around 65 to 75 degrees Fahrenheit useful. If a seed remains firm and clean rather than becoming mushy or moldy, patience can be worthwhile.
How I Germinate Amaryllis Seeds in Water
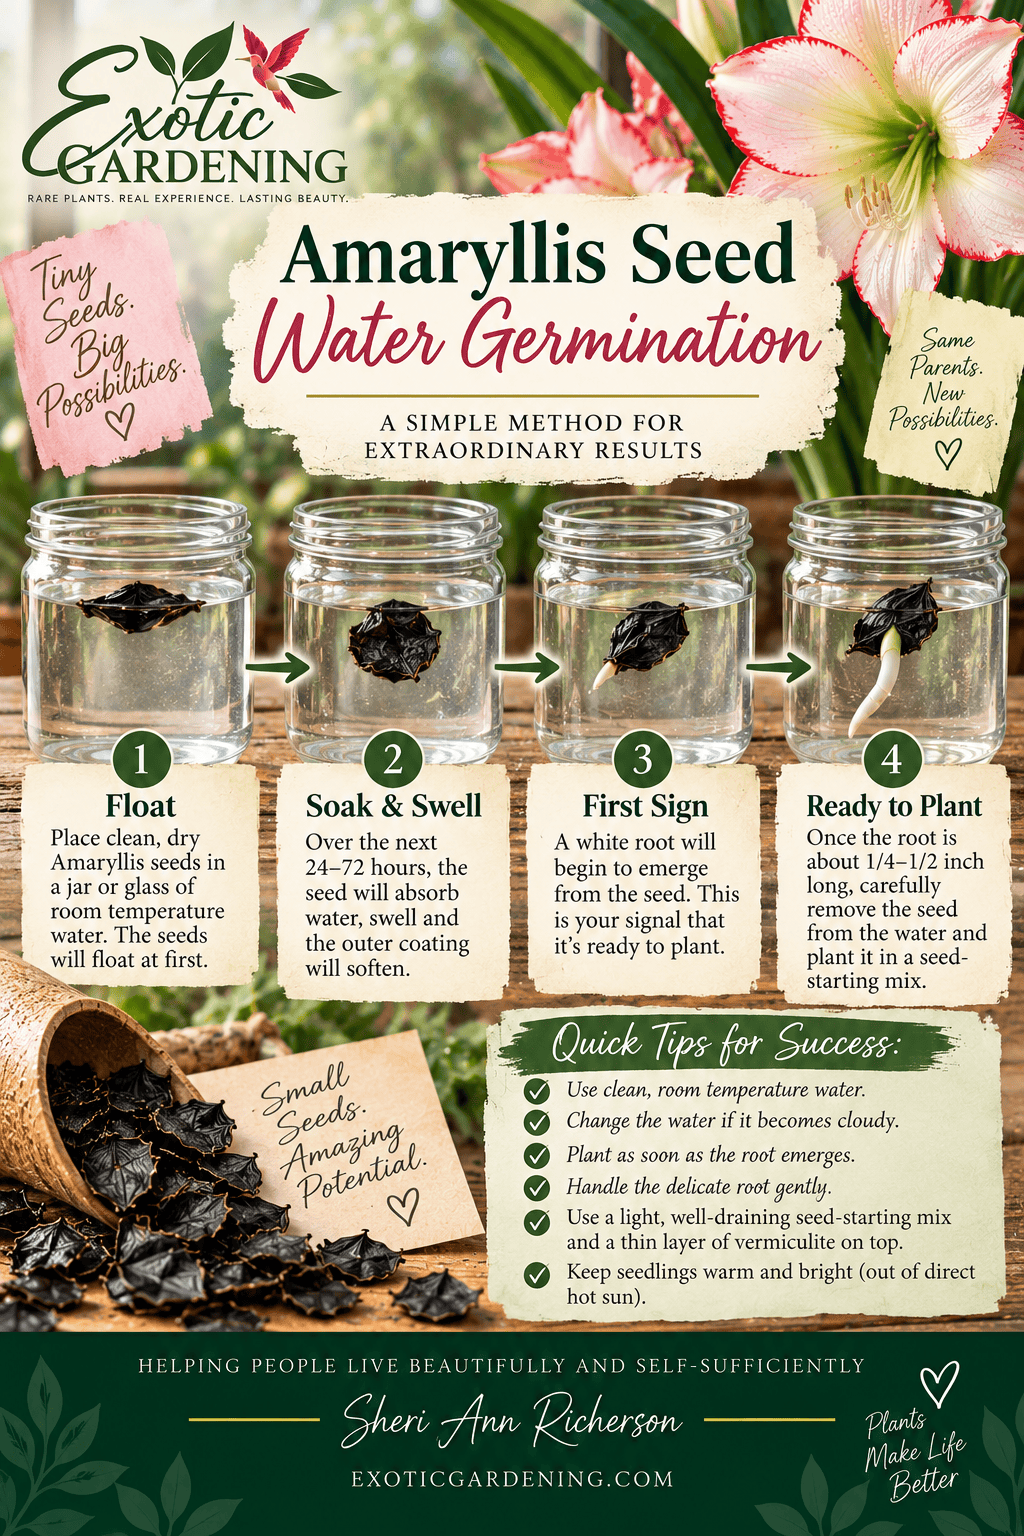
Floating Amaryllis seed on water is the easiest germination method I have found. I place the seed on the water and watch for the white root to emerge.
The advantage is visibility. I am not digging around in seed-starting mix wondering whether anything is happening. I can see the change and decide when it is time to move the germinated seed.
The disadvantage is that once the root emerges, you now have something fragile to handle. This is not the moment to grab the root with tweezers or push it roughly into soil.
How I Plant Amaryllis Seeds After They Germinate
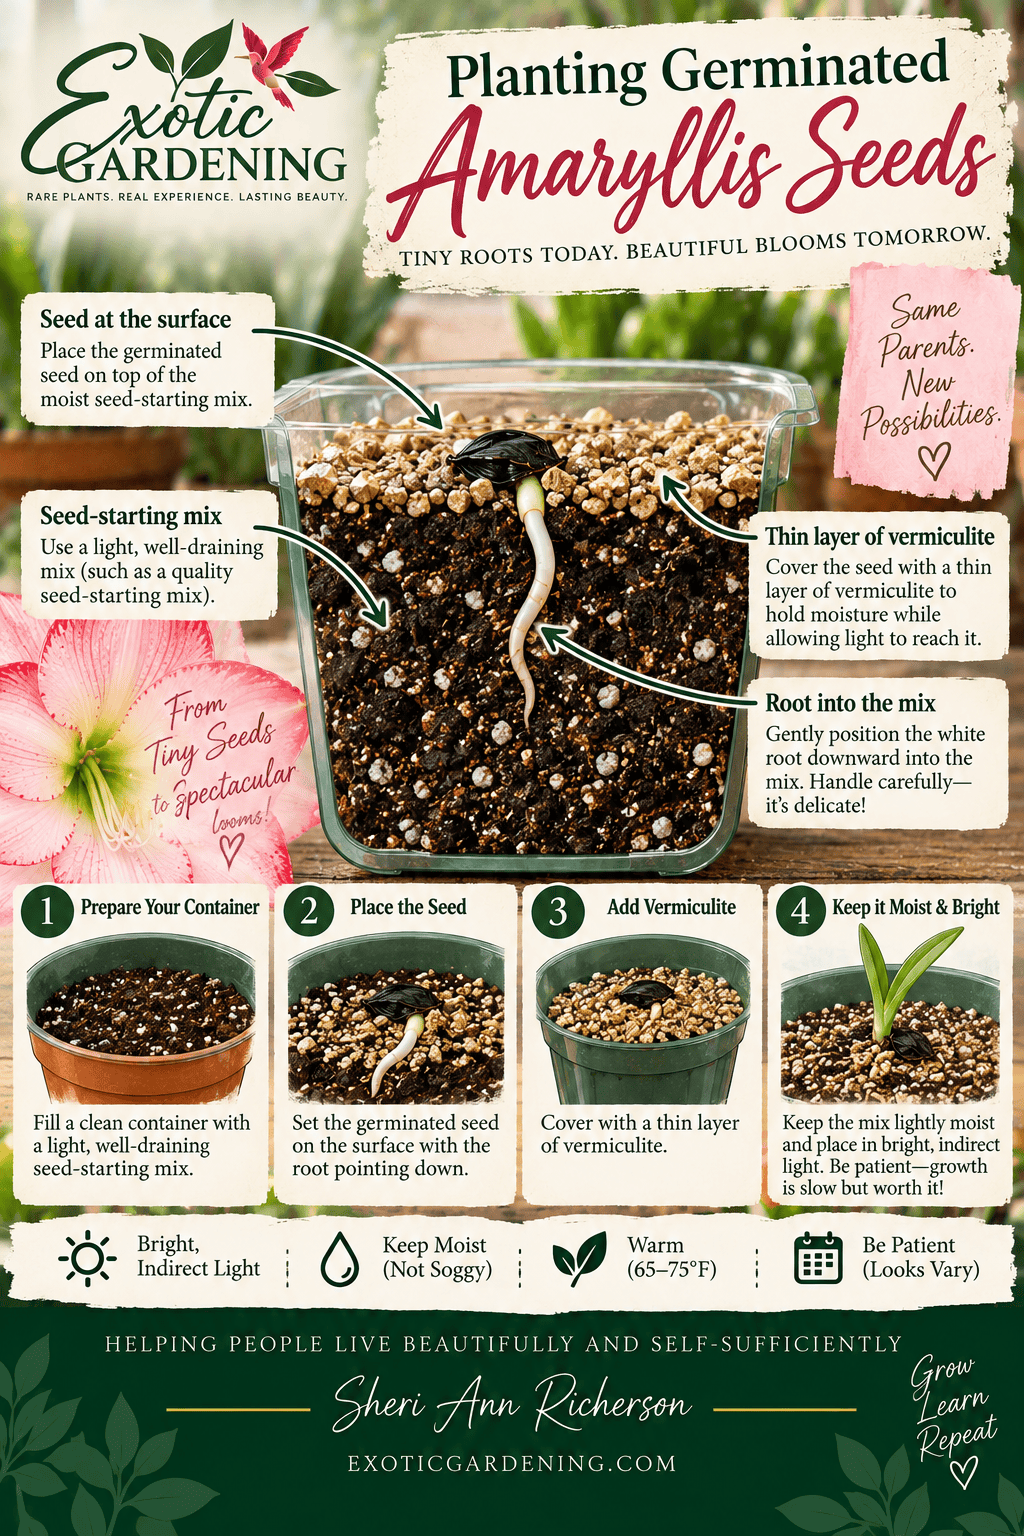
My broader Amaryllis notes preserve the technique I use once that white root appears, and they help fill in an important detail behind this old experiment. I use seed-starting mix as the growing medium and a thin layer of vermiculite over the seed. That matches my memory of this experiment as vermiculite over seed starter rather than a pot filled only with vermiculite.
Here is how I handle the germinated seed:
- Prepare the small container and seed-starting mix before taking the seed out of the water.
- Make a tiny planting hole so you are not trying to create one while holding a germinated seed.
- Use tweezers to gently grasp the edge of the papery seed, never the new white root.
- Guide the root into the prepared hole without bending or breaking it.
- Gently shift the seed-starting mix around the root so it is supported.
- Cover the top of the seed with a thin layer of vermiculite rather than burying it deeply.
- Add a small amount of water or mist the surface so the vermiculite and mix settle around the root.
That layered approach gives the developing root a proper seed-starting medium below while the light vermiculite at the surface helps maintain moisture without packing heavily around the delicate new growth.
Humidity, Moisture and the First Green Growth
After planting, I keep the medium moist and prefer bottom watering. I have also used a plastic bag around the pot to maintain humidity, but I do not leave the seedling sealed up continuously.
My routine has been to close the bag in the afternoon and leave it overnight, then open it in the morning. That lets me inspect for mold and exposes the seedling to normal household air during the day. Once I see active growth, I remove the pot from the bag and grow the seedling in a warm, bright location.
Humidity can help a tiny seedling, but stagnant, constantly saturated conditions can also create trouble. The goal is moist, warm and protected—not swampy.
Caring for Young Amaryllis Seedlings
A newly germinated Amaryllis is not ready to be treated like a mature holiday bulb. At this stage I am trying to encourage leaves and roots because those leaves are doing the work that eventually builds a larger bulb.
Give seedlings good light without suddenly scorching tender foliage. Keep the growing medium evenly moist but well drained. As the seedlings become established, airflow matters too.
Unlike a mature bulb that you may deliberately send into dormancy to manipulate flowering, young seed-grown Hippeastrum should be kept actively growing. The Royal Horticultural Society recommends keeping seedlings in moderate warmth without inducing dormancy and beginning general pot-plant feeding about five to six weeks after germination.
When and How to Pot Up Amaryllis Seedlings
Do not move a tiny seedling into a huge pot just because Amaryllis eventually makes a substantial bulb. An oversized container holds more wet growing medium around a very small root system, which is not what I want.
Start small. When the roots have filled the existing container and the plant is actively growing, move it into a slightly larger pot with a free-draining potting mix. Continue stepping the plant up as its roots and bulb develop.
Handle the young bulb and roots carefully during each move. The objective is steady growth, not repeatedly disturbing the plant to see how big the bulb has become.
How Long From Amaryllis Seed to the First Flower?
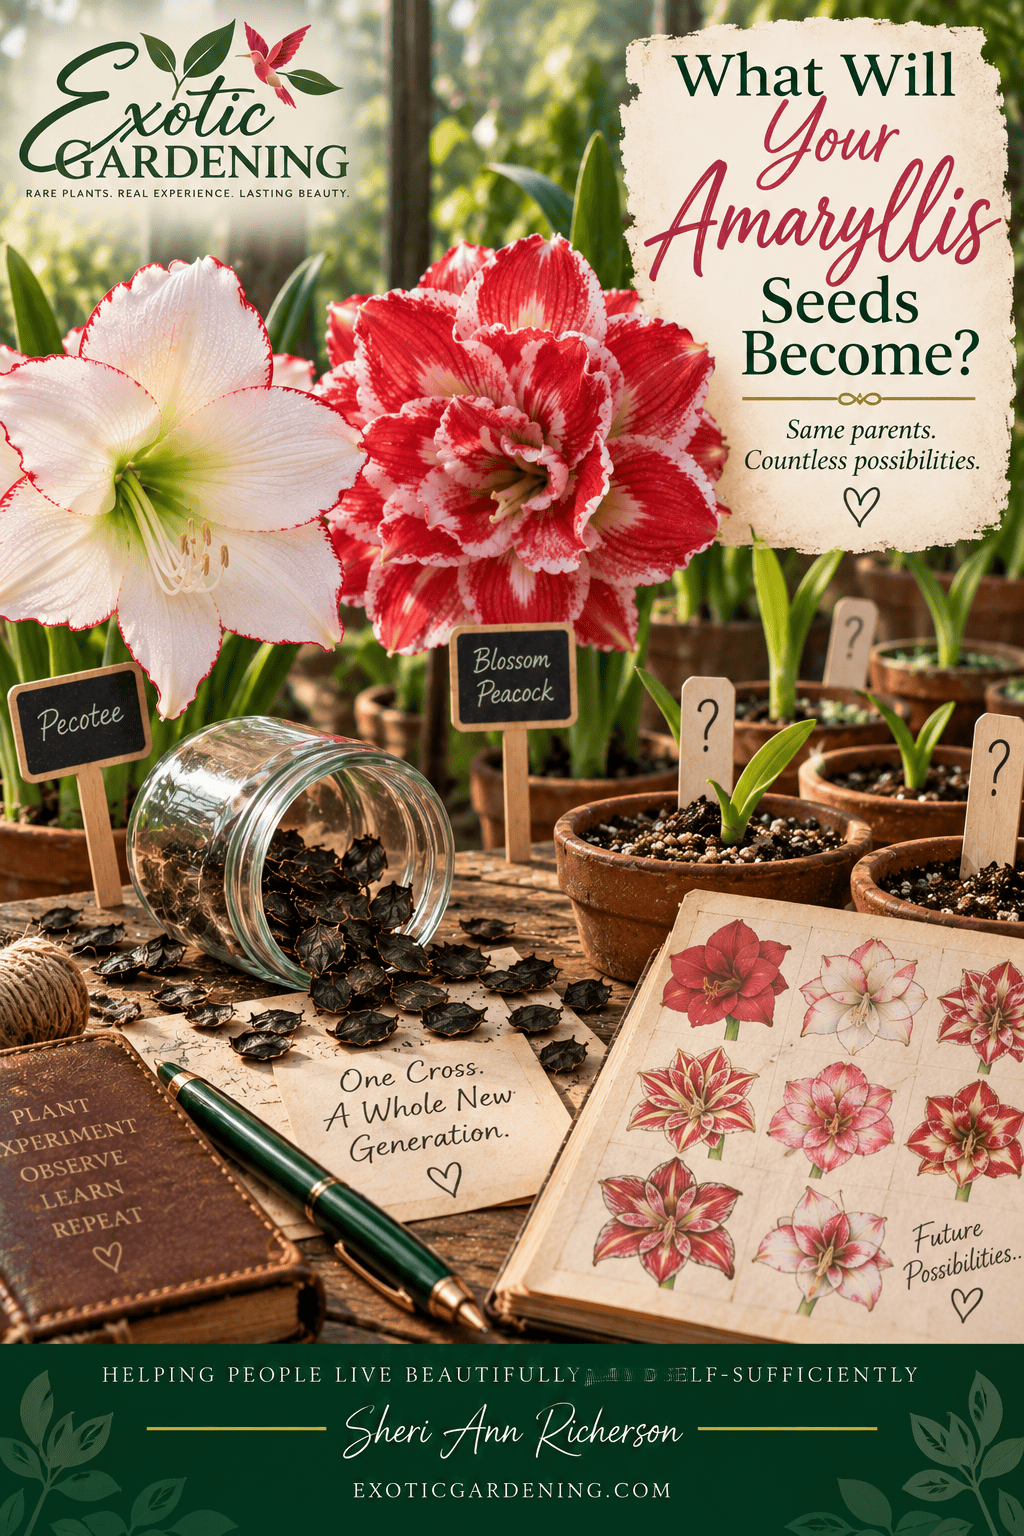
This is where patience becomes part of the experiment. The RHS notes that seed-raised Hippeastrum can take up to six years to reach maturity and flower. In my own experience, I have allowed for even longer and have seen the process described as eight years or more.
The useful answer is not to circle one guaranteed date on the calendar. Expect years. Genetics, light, nutrition, temperature and how continuously the young plant can grow all influence how quickly it builds a flowering-size bulb.
That long wait is also what makes the first bloom so exciting. Until a seedling flowers, you do not really know what that particular combination of genes has produced.
One important distinction: mature Hippeastrum bulbs can be given a rest or semi-dormant period as part of managing their flowering cycle, but young seed-grown plants should be kept actively growing rather than deliberately forced into dormancy while they are still building bulb size.
What I Would Record If I Made This Cross Today
This old experiment preserved something valuable: the parent names and exact germination dates. But if I were starting Pecotee x Blossom Peacock today, I would document far more.
I would photograph both parent flowers, record which flower supplied the pollen, note the pollination date, photograph the developing capsule, record the harvest date, count the seeds, number the seedlings, record each germination date and photograph each seedling as its bulb developed.
Most importantly, I would keep each surviving seedling identified until it bloomed. If several seedlings came from the same pod, I would want to compare the siblings. That is where the genetics lesson becomes visible instead of theoretical.
What If One Seedling Is Truly Special?
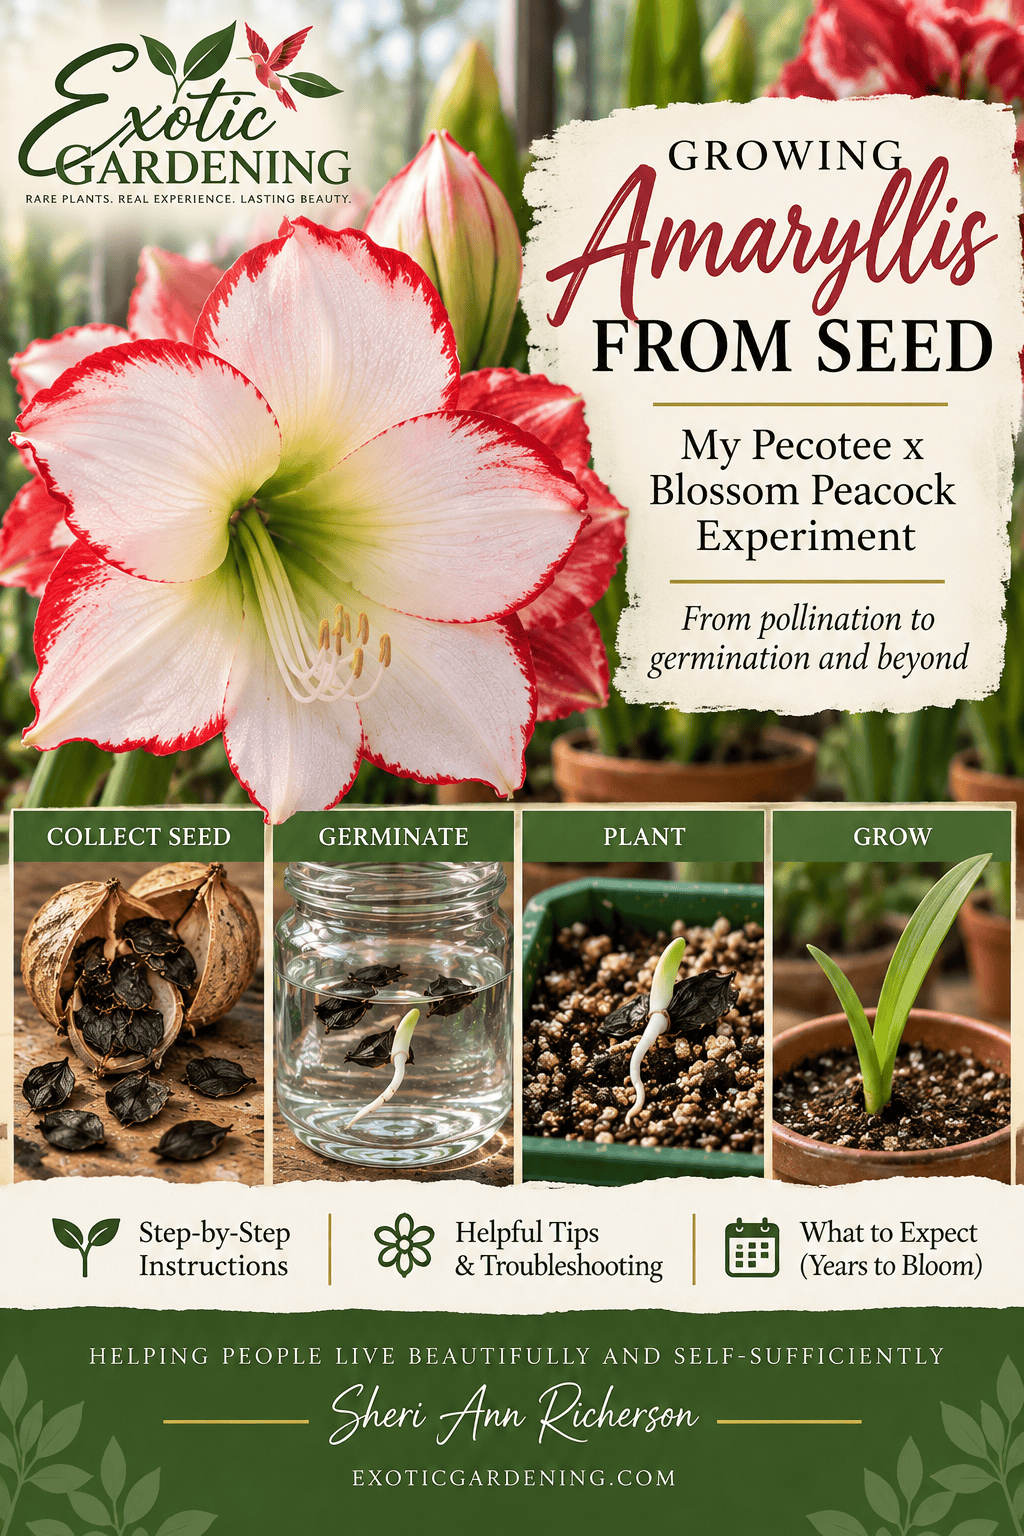
If you wait years and one seedling opens into a flower unlike the others, do not lose its identity. Photograph it, keep the label with the bulb and continue growing that individual plant.
Seed will not reliably duplicate that unique plant because another seed represents another genetic reshuffling. Once you have a plant you want to preserve exactly, vegetative propagation—such as offsets when the plant eventually produces them—is the route to keeping that individual genetics intact.
Troubleshooting Amaryllis Seed Germination
If nothing happens immediately, do not assume the experiment failed. My own germination times have varied considerably. But there is a difference between a slow seed and a deteriorating one.
A firm seed that still looks sound deserves time. A seed becoming mushy, decomposing or developing persistent mold is another matter. Clean handling, fresh seed, moderate warmth and avoiding stagnant, excessively wet conditions all help.
After germination, watch the growing medium as carefully as the plant. Constant saturation can damage young roots. On the other hand, allowing a newly established seedling with a tiny root system to dry severely can set it back. This is one of those stages where observation is more useful than watering automatically by the calendar.
Continue Growing the Amaryllis After the Seedling Stage
This article follows the unusual part of the journey: crossing cultivars, collecting seed and raising a genetically new plant. Once your seedling becomes an established bulb, continue with my How To Grow Amaryllis guide for broader Amaryllis care.
If you are starting other plants alongside your Amaryllis, my guide to successfully starting seeds covers the fundamentals, while my indoor seed-starting setup shows how I put the growing environment together.
The Moment You’ve Been Waiting For: The First Bloom
There is an entirely different satisfaction in buying a named Amaryllis bulb and growing it beautifully versus making a cross and waiting years to see the result. With the named bulb, you have a good idea what is coming. With a Pecotee x Blossom Peacock seedling, the unopened first flower bud is still a mystery.
That is what I love about experiments like this. The November 10 seed floating on a baby-food-jar-sized patch of water was not simply another way to make an Amaryllis plant. It was the beginning of a genetically individual plant carrying traits from two very different parents.
Collect the seed. Label everything. Keep notes. Handle those first roots gently. Grow the young seedlings instead of rushing them into dormancy. Pot them up as they need it. And then have patience.
Years later, when that seedling finally sends up its first flower stalk, you get to discover what was hiding inside that thin papery seed all along.