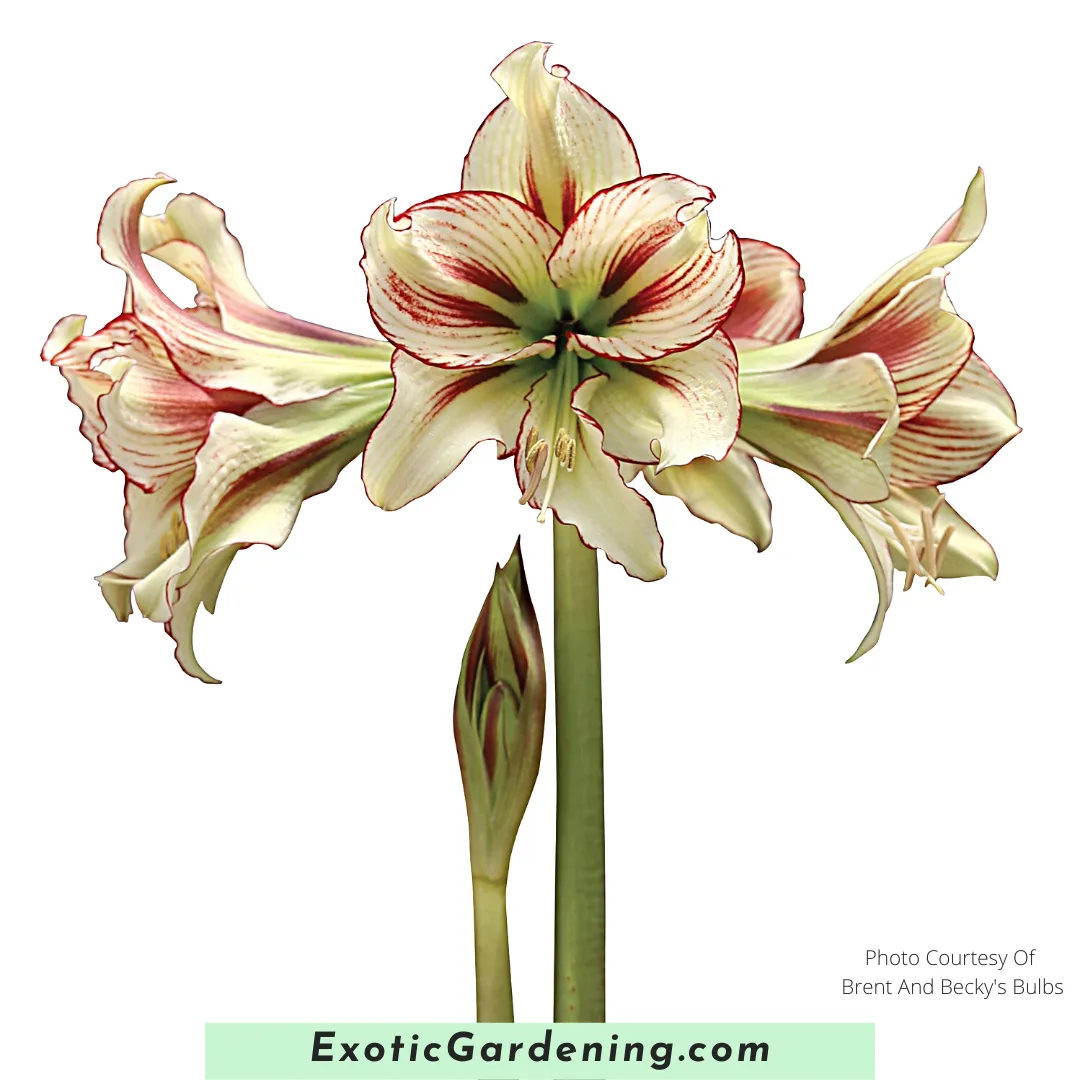
Amaryllis are a very popular Christmas plant, but did you know you can keep your plant from year to year and even learn how to grow Amaryllis from seed?
In fact, you can even move your dormant Amaryllis outdoors in the spring to allow the leaves to start growing and gathering food through photosynthesis in preparation for gorgeous winter blooms.
There are many varieties and colors of Amaryllis to choose from, and of course if you choose to allow yours to cross-pollinate and set seed you might even come up with a brand new Amaryllis that no one has seen before.
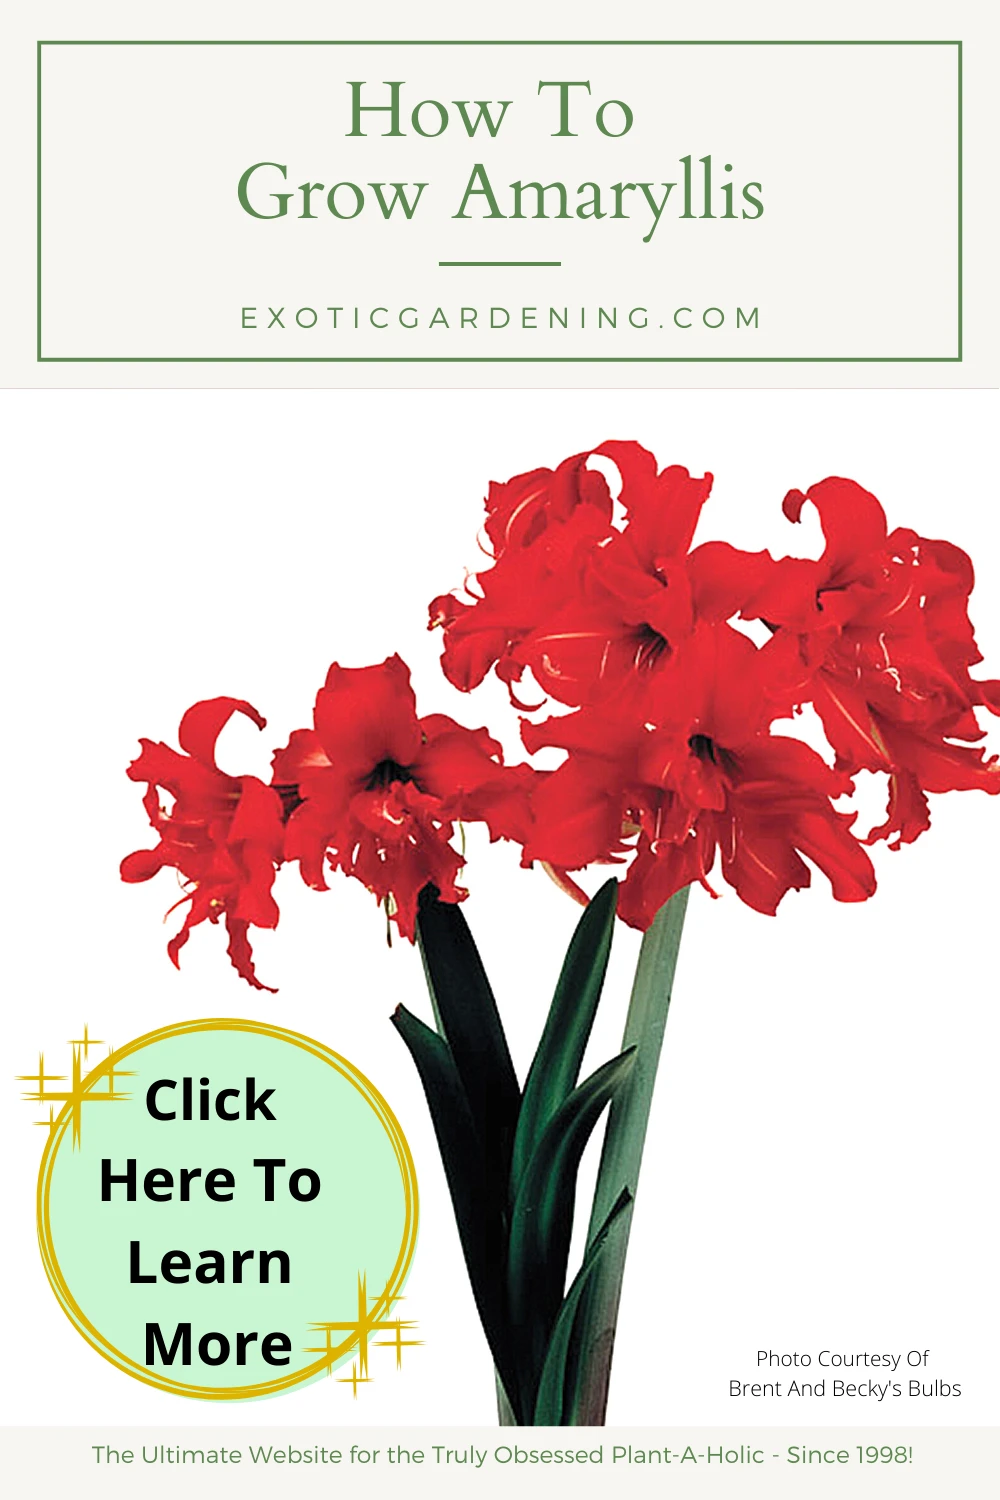
Why Grow Amaryllis?
Many people grow this plant for the colorful, indoor blooms in late winter.
The fact that Amaryllis comes in a wide variety of colors and bloom styles is also quite appealing.
Finally, it is an easy to grow and care for plant - simply put you plant this bulb, water it, let it bloom, let it die back and store it until the following year.
Pretty easy, right?
Indoor Amaryllis Care
Amaryllis is a popular plant to grow indoors, especially around the holidays, but what a lot of people don't know is the typical bloom time starts in late summer and goes through December, although the blooms can last into January.
While most people consider Amaryllis to be an indoor plant, it is hardy is USDA Hardiness Zones 7 through 10 and is grown as an outdoor plant in those climates.
Amaryllis plants need a lot of light to achieve the large blooms they are known for.
So the ideal location to grow amaryllis in your home is a sunny spot that is warm.
Inside of a south facing window is perfect, but be sure to keep your plant from touching the glass of the window and be sure the window is not drafty.
Turn the pot at least once a day to keep the stem straight, otherwise it will reach for the light and become top heavy as it grows.
Once your Amaryllis begins to bloom, you can move it to a cooler spot in your home that has diffused light.
Temperatures around 60 degrees Fahrenheit, once the plant is in bloom, will keep your plant blooming longer.
Another important tip is to keep the potting mix barely moist and avoid getting water on the bulb that sticks above the soil line.
Growing Amaryllis From Seed
The typical method of propagation for Amaryllis is either seed or bulb division when the plant is dormant.
Growing amaryllis from seed is fairly easy, simply sow the fresh seeds immediately.
Now, in my experience, older seeds will germinate, but the fresher the seed, the higher the germination rate.
Then be patient, as germination occurs pretty quickly, but the resulting plants are slow to flower.
In fact, it may take eight years or longer for those seedlings to begin to flower.
Germinating Amaryllis Seeds In Water
Germinating Amaryllis seeds in water is the easiest method of germination I have found.
Simply float the seeds on top of water until a root emerges.
Once the seed has germinated, which is evident by the white root sticking out of the seed, plant the seed in a small pot filled with seed starting mix.
Be very careful when planting the seed so you do not damage the root.
Here is my technique for planting Amaryllis seeds once they germinate:
- Use tweezers and gently grab the edge of the seed to remove it from the water.
- Set the root in tiny hole that you pre-made in the container you put the seed starting mix in.
- Very gently use your fingers - or the tweezers to shift some of the seed starting mix so the hole starts to fill in.
- Cover the top of the seed with a thin layer of vermiculite.
- Add a tiny amount of water to the top of the pot - you can use a mister for this. What you are doing is getting the vermiculite wet enough so it and the soil below shift to create a good seal around that root.
- Now be sure to keep the soil moist from here on out. Bottom watering is best.
- Set the pot in a plastic bag so the area around the pot stays humid. The bag does not need to be sealed all the time. I like to seal mine up mid-afternoon and leave it that way overnight. However I do open the bag up in the morning, make sure I am not seeing any signs of mold and allow my seedlings to be exposed to the air in my home all day.
- Once you start to see growth, remove the pot from the bag and allow the seedlings to grow in a warm, sunny window.
How Long Does It Take For Amaryllis Seeds To Germinate?
Amaryllis seed germinate best at temperatures that range between 65 and 75 degrees Fahrenheit in my experience.
The average germination times for the Amaryllis seeds I planted ranged between 9 and 120 days.
Now some seeds, especially if they are fresh might germinate a little faster and older seed might take a little longer.
What I have learned about starting plants from seed is you have to have patience.
If the seed is not mushy, does not show signs of mold and still seems ok, just wait it out.
Amaryllis Care After Flowering
Once your Amaryllis flowers fade, you can use sharp, clean pruners to cut the bloom stalk off one to two inches above the top of the bulb.
Be careful that you do not damage the foliage when you are cutting the bloom stalk off.
You can move the plant back to the warm, sunny window so the leaves get lots of sunlight, which is important.
The soil no longer needs to be kept moist, in fact what you want to do is water only when the top of the soil feels nearly dry.
You can fertilize every two weeks during this time if you wish to.
What you are doing is feeding the plant so it can replenish its depleted food reserves and this is why putting it back in a sunny window is important.
Plants create their own food, but fertilizer gives extra nutrients the plant needs in order to utilize the food they create through photosynthesis.
You will notice that the leaves of your Amaryllis will begin to turn brown and die off naturally.
Your Amaryllis is not dying, it is going dormant, which is exactly what you want it to do.
Once the leaves have completely died off and shriveled off, remove them.
This is when it is safe to dig and transplant the bulbs.
Dividing the bulbs when they are dormant, and not waiting until they start to regrow in the spring is the best way to prevent possible root damage.
Be sure to divide the bulbs - if necessary - before replanting them.
You want one Amaryllis bulb per pot.
Amaryllis F.A.Q.
Q: How long do indoor Amaryllis live?
A: A well cared for Amaryllis bulb typically lives 25 years, however there are bulbs that are over 50 years old that have been passed down for generations.
Q: How do I store my Amaryllis bulbs?
A: Here is the proper way to store your dormant Amaryllis bulbs:
- Set the entire pot in a cool, dark, dry place like an unheated attached garage or a basement.
- Do not water or feed the bulbs during this time.
- Watch for new growth and if you see any, go ahead and remove those bulbs from storage and allow them to start growing again.
- Be sure to keep Amaryllis bulbs away from apples, as apples give off ethylene gasses that can sterilize the bulbs and prevent future blooms.
Q: How do I get my Amaryllis to bloom?
A: Simply place is in a sunny window, keep the soil moist to encourage growth and fertilize it every 7 to 14 days, depending on your watering cycle and the the directions on the fertilizer you are using.
Q: Should I soak my Amaryllis bulb before I plant it?
A: If you bought an unpotted Amaryllis bulb and the roots are stiff, then the answer is yes. Here is how to do that:
- Fill a vase or glass that the bulb can sit on top of with lukewarm water.
- Sit the bulb on top of the vase or glass making sure only the base of the bulb is touching the water. The base is where the roots connect.
- Allow the roots to sit in the water for about 12 hours.
- After the 12 hours are up, remove the bulb and pot it up, unless of course you plan to grow the Amaryllis in water, which is possible.
Q: Are coffee grounds good for Amaryllis?
A: Coffee grounds contain magnesium and potassium that plants need for growth, not to mention Amaryllis like slightly acidic soil, so the answer is yes, coffee grounds are good for Amaryllis.
Q: Can I remove the wax from Amaryllis bulbs?
A: Yes. Amaryllis bulbs with wax on them cannot regrow, so it is important to carefully remove the wax while trying to keep the brown outer skin on the bulb. This is not an easy task, so take your time and know that sometimes all of the wax will come off in one chunk and other times it will come off in pieces.
Q: Can I grow my Amaryllis in water?
A: Yes, you can grow it in water, but be sure to place some heavy pebbles in the bottom of the container and choose a heavy hurricane candle cylinder or vase to do this in because the stems get large and the flowers are heavy. You don't want the container to tip over because it becomes top heavy. Here are a few other tips:
- Avoid getting water in the top of the bulb.
- Hold the roots down with the heavy pebbles.
- Keep the container filled with two to three inches of water at all times.
- Make sure water does not touch the bulb at all or it will rot.
- The water will look funky as older roots decompose.
- Amaryllis bulbs grown in water should be discarded after blooming.
Bulbs and Rhizomes
Dive into the fascinating world of bulbs and rhizomes with our curated collection of blog posts! Whether you're a seasoned gardener or just starting your journey, you'll find everything you need to plan, plant, and care for these stunning plants. From classic spring favorites like tulips and daffodils to summer showstoppers like gladiolus and cannas, our posts cover a wide variety of blooms to suit any garden style.
Learn how to choose the best bulbs and rhizomes for your region, plant them at the right time, and care for them season after season. With expert tips on soil preparation, watering, and pest resistance, you’ll be equipped to create a garden that’s vibrant and thriving.
Explore the endless possibilities and let these versatile plants bring bursts of color and texture to your garden year-round. Start planning your dream garden today!
Daylilies: Attractive, Colorful, Easy To Grow Garden Gems
Daylilies are popular garden plants that are colorful, easy to grow and multiply rapidly. They are also drought tolerant.
Worselya rayneri Culture And Propagation
Learn how to grow, flower and propagate the endangered plant, commonly known as the Empress Of Brazil, Worseyla rayneri.
Bulbs to Plant In January: Get a Head Start on Cut Flower Production
Plant bulbs in January in a heated greenhouse to get a head start on cut flower production. Then interplant herbs, vegetables and annuals.
Spring Flowering Bulbs: The Cutting Garden
Plant spring flowering bulbs in the greenhouse or even indoors in February and March for gorgeous blooms in spring or mid-summer.
Forcing Bulbs Indoors For Early Spring Blooms
Forcing bulbs indoors is a great way for those without greenhouses to have flowers in bloom during the winter months.
Blooming Brilliance: Mastering Spring-Flowering Bulbs in Hot Climates
Discover the secrets of coaxing bulbs to bloom in hot climates. Get expert tips for vibrant, resilient floral displays.
Brighten Your Garden This Spring With Miniature Daffodils
Brighten your garden this spring with miniature daffodils! Discover their vibrant colors, unique varieties, and easy-care charm.
How To Grow And Care For The Albuca Species
Learn how to grow and care for the Albuca species. While most people start with a live plant, seed starting information is also included.

